
November 11, 2017
After a much needed mowing of the lawn, I got straight to Joule with intentions of finishing up the cabin sole recore work, among some other miscellaneous items.
The first things to do was to water-wash the spot-filled areas on the topsides and the previous fairing application on the cabin sole. I scrubbed the surfaces down with water and a scouring pad, and then dried them off. Using a combination of hand and the RO sander with a 120-grit pad, I took the epoxy down to a fair surface with the surrounding topsides surfaces.

...both port and starboard sides.

While I had the sanding gear out, I went ahead and cleaned up the surfaces of the newly cut portlight openings. Of course, I also scrubbed the previous fill work to remove the amine blush.

Sanding the portlight openings were mostly done by hand, for obvious reasons, and generally cleaned up on the cabin exterior and interior surfaces with the RO sander. Later in the evening, I solvent cleaned these surfaces and brushed a layer of neat epoxy to further seal the epoxy fill work.

With the portlights and hull sides addressed, I went to work on the cabin sole. The previous fill work progressed the recore along nicely, but since I wanted to layup one more layer of 1708 biaxial to tie in the entire sole surfaces, I did not obsess over the fairness of the surface. As it turns out, I did not have too many low spots to rework with fairing filler. I sanded the surface down with the RO sander and 80-grit pads.

With the surface of the cabin sole sanded, I vacuumed and wiped it down with a solvent exceedingly well. I then prepped the surface for that final layer of glass by filling the spot areas that required it as well as the forward section of the sole that did not require recording work.

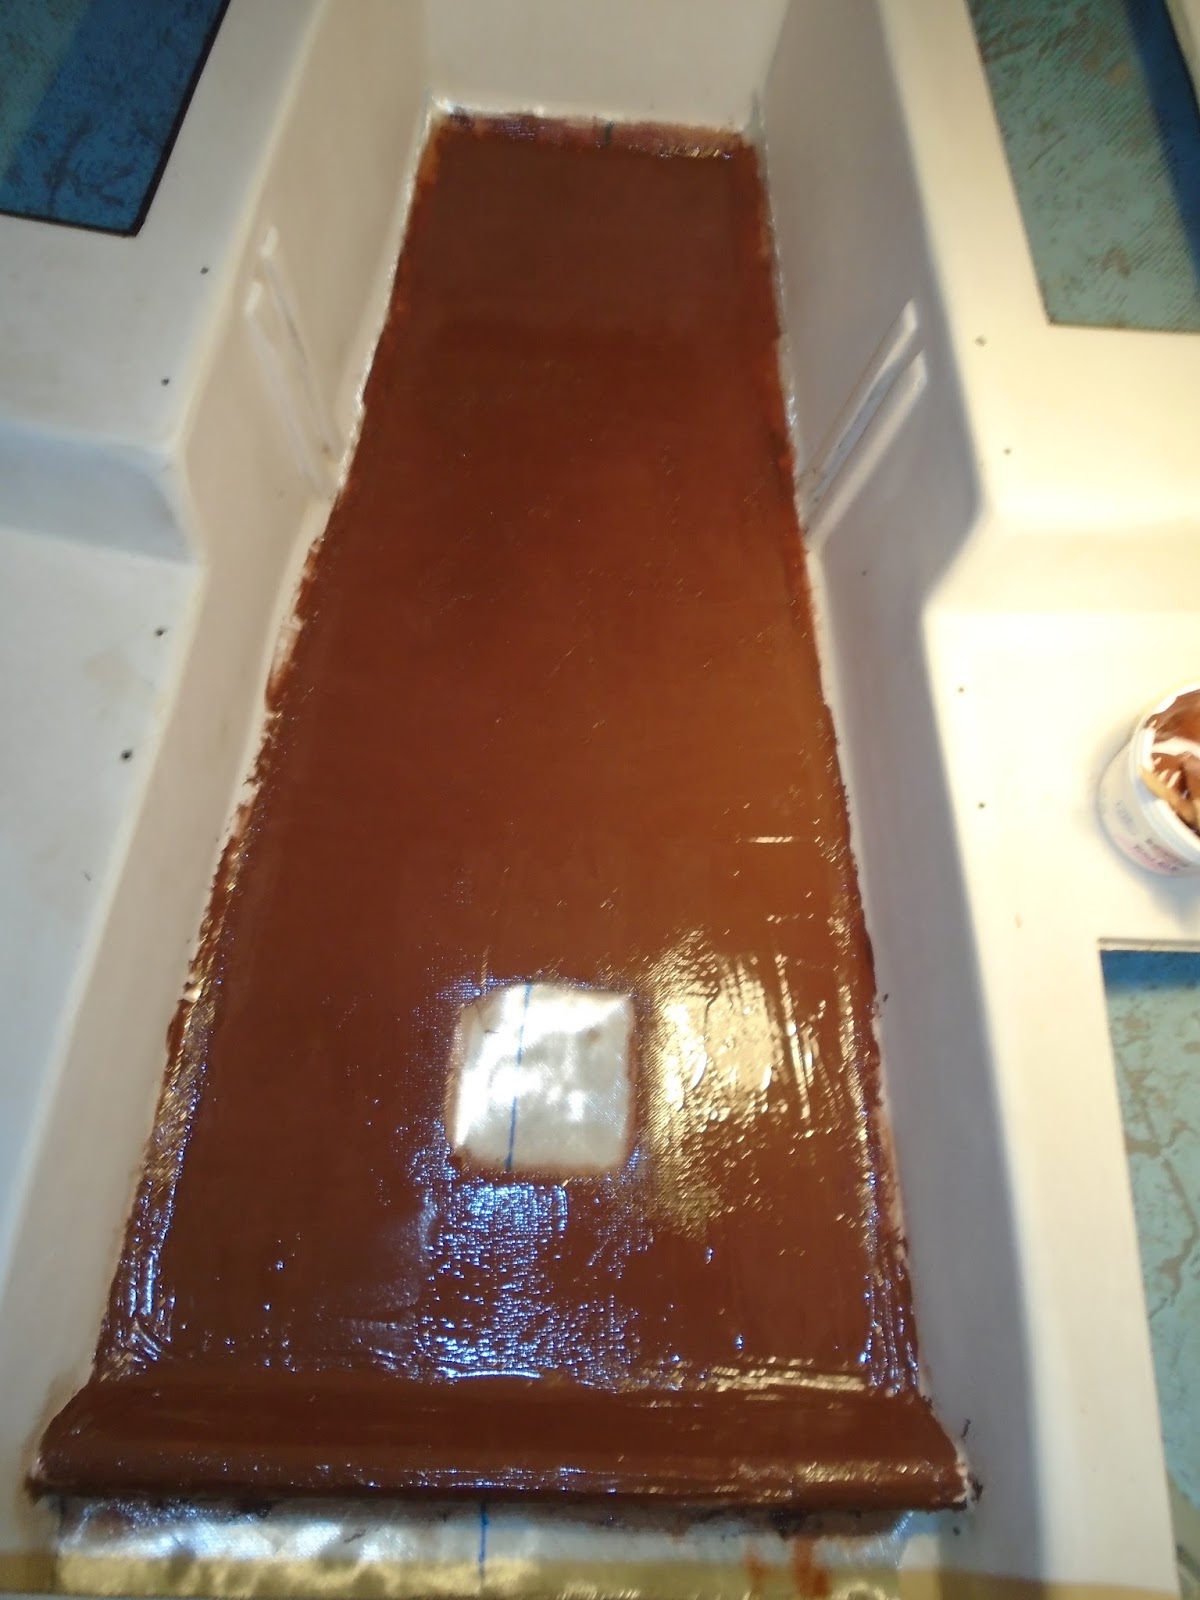
I had taken measurements prior to spot-filling, and so then now took those measurements to the shop to cut that final layer of 1708 biaxial. My approach was to cut a slightly larger piece of cloth to fit the cabin sole, bend the edges up the sides of the molded seating, and just wet out the sole and radius of the turn from sole to sides of the molded seating. The sides fit nicely within the radius, the forward end was slightly longer than required, and then I purposely went longer on the aft end in order to tie the sole into the 'damn' molded into the cabin sole.

With the glass fully wet out at this point, I used a fin roller to ensure good adhesion and no air bubbles remained within the laminate.

My final item for the core today was to allow things to tack up a bit, and then fill in the weave with some thickened epoxy. Filling in the weave at this point is much easier than allowing the glass to set up, water-wash, sand, and then fill it in. With filling the weave in now, I reduce a few steps and create a chemical rather than mechanical bond for the thickened epoxy.
Total Time Today: 4.25 hrs
No comments:
Post a Comment