
December 2, 2017
After running a few errands this morning, including swapping out new tires on the trailer for the Boston Whaler, I got straight after the list of action items for the day. The project is quickly becoming one that is focused on the new, but more importantly, the new finish materials. To that end, I wanted to make sure that I got the first coat of bilge paint on today, as well as getting other surfaces ready for primer.
My first order of business, per the usual routine, was to water-wash the previous session's epoxy work. So with a scouring pad, water and a towel, I moved around the boat removing amine blush from the cured epoxy work: cabin sole, foredeck recore patch, and various spot-filled areas on the overhead interior liner and cockpit sole.

With this important task out of the way, I outfitted myself with the RO sander, 80-grit pads, and hooked up the vacuum attachment to begin working the recent 1708 biaxial layer I applied to the forward portion of the cabin sole. I trimmed the excess cloth (the cloth that was not wetted with epoxy), and then blended the edges in with the surrounding surfaces. I finished this area with plenty of hand-sanding work to ready the surfaces for fairing filler.

I vacuumed the cabin sole detritus left over from the sanding, and then turned my attention to the bilge area. I am generally applying the 'bilge' moniker to the storage spaces below the interior cabin liner. Sure, not technically the bilge, but for descriptive purposes, 'bilge' describes anything below the interior liner...henceforth!
With 40-grit and 80-grit paper, I worked my from the aft portion of the port settee locker...

...forward to the port-side middle locker...

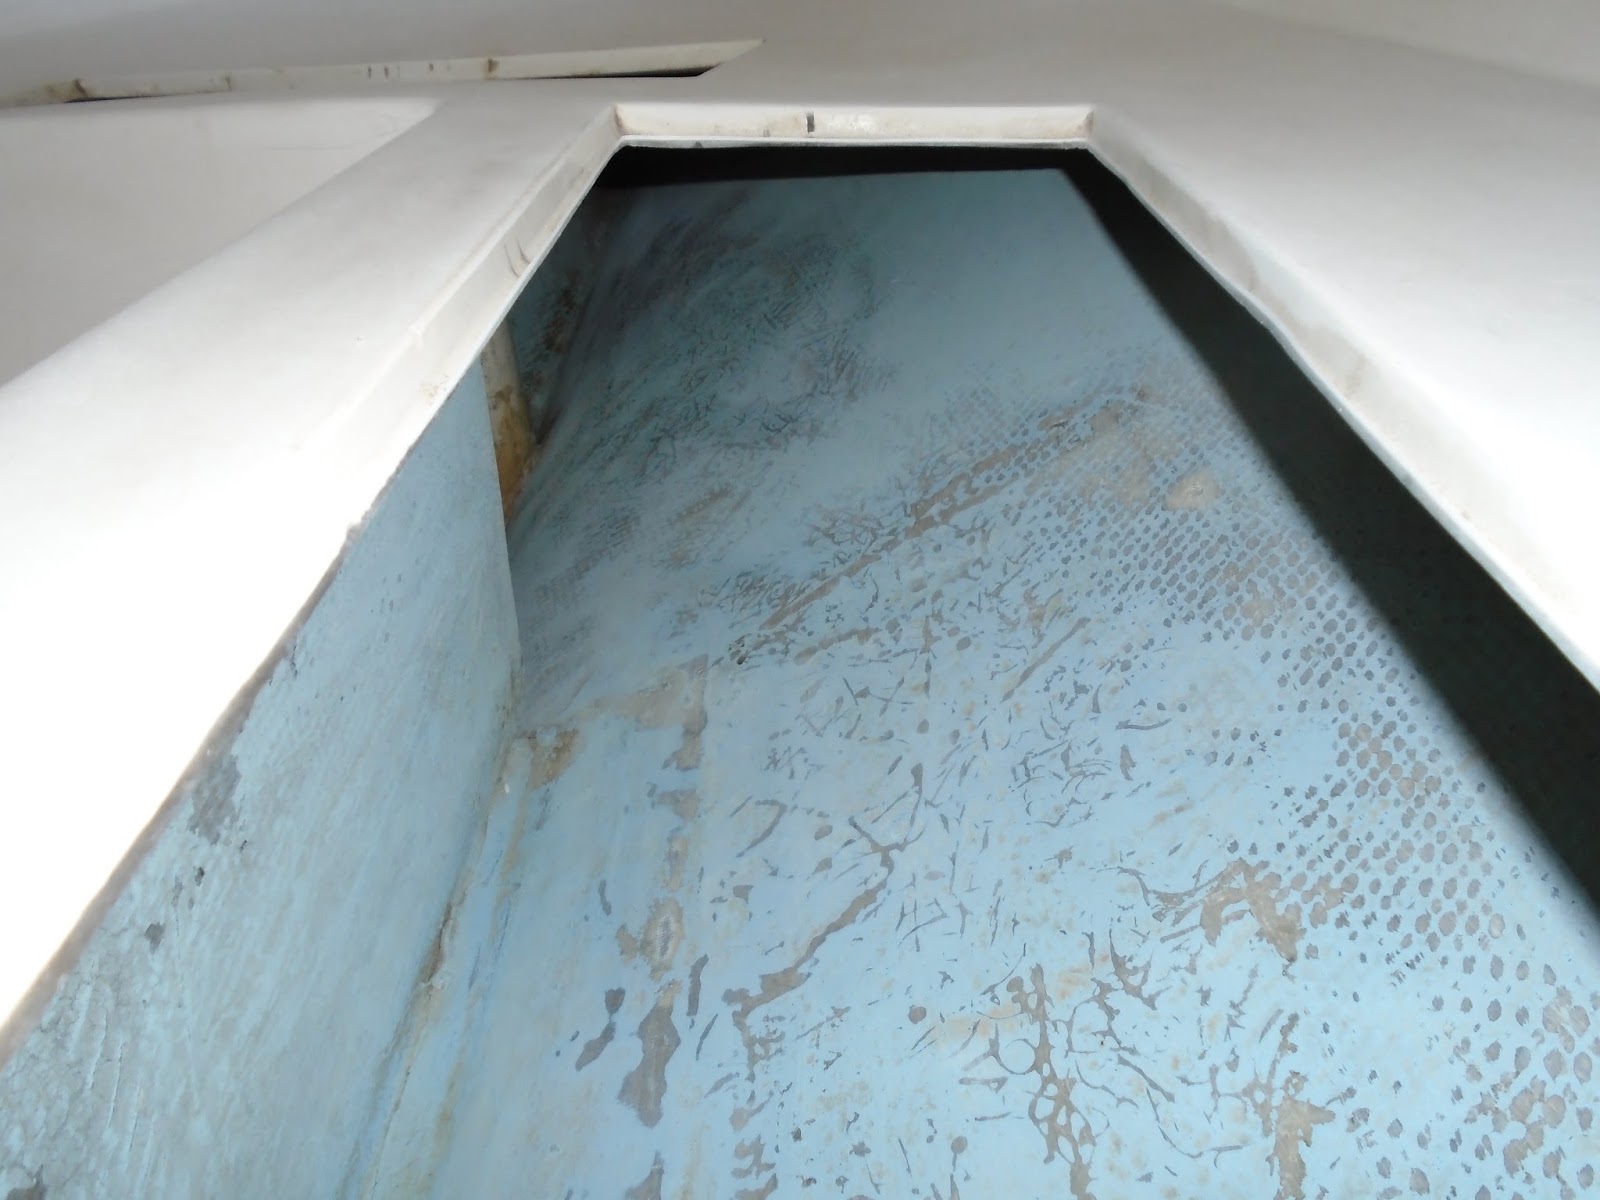
....and forward to the center locker. I am at a complete loss for the reason the 3" PVC pipe was glassed in; just not sure what this is here for. Thoughts?, anybody?

After completing the sanding in the v-berth center locker, I continued my contrarian-clock ways aft on the starboard side of Joule. I worked the middle locker, reaching as far as I could outboard, before moving further aft...
...and I finished with the starboard settee locker. While I was in Joule's cabin, I moved over to address a few odds and ends: I had over-drilled and spot-filled several old fastener holes previously supporting wiring, and so now was ready to fair those surfaces. In the original water-washing festivities, I also removed the amine blush from these spot-filled areas, so I hit them quickly with 80-grit paper and called the interior "prepped".

Moving out onto the foredeck, I began working the recored areas. I previously had removed rotted core beneath the all important foredeck cleat, and proceeded to recore the deck using G10 as the core material and 1708 biaxial as top skin material. I applied fairing compound with the original layup, sanded it, and applied an additional skim coat. I am at a point now where I am dialing in the surface - matching the newly cored portion of the deck with its surrounding surfaces.

I completed the sanding, frequently comparing the fairness of the work with a heavy-duty meal rule. After working the area for a while, I noted a few low spots and then moved on to other items.

Back in Joule's cabin, I got to work cleaning and further prepping the 'bilge' for paint. I vacuumed the surfaces of the locker interiors, followed by a thorough solvent-washing. In this application, I am using Pettit EZBilge for the locker surfaces / 'bilge'. Again, I worked my way from the aft port locker, the settee locker, and moved forward...

...through the middle locker...

...and into the middle v-berth locker.

As I had down with the sanding, I finished the locker located in the middle of the v-berth, and then moved aft on the starboard side.

I completed the 'bilge' painting with the starboard settee locker, the aft-most locker for the interior liner. With a good first coat of paint on, I moved to the other items left for the day: more filling and fairing!

I mixed up a 'neat' batch of epoxy and painted out the areas requiring further fill and fairing work: foredeck, forward portion of the cabin sole and a few other spot-fill areas. With the surfaces vacuumed, solvent-washed and clean, I painted the surfaces with the 'neat' epoxy and then proceeded to mix a batch of thickened epoxy.
I applied the thickened epoxy to the cabin sole, skimming the surface to fill in the remaining weave and to blend with the surrounding surfaces.

Next, I went up onto the foredeck and filled the areas that I had made note of previously in the sanding session. Not pretty, but a stiff longboard sanding application will pull the area into fair with its surrounding surfaces. A similar day is in store for tomorrow.

Total Time Today: 5 hrs.