This blog will document the restoration of Cape Dory Typhoon (Weekender) Hull #1044. The Cape Dory Typhoon is a great sailing small-scale 'yacht', and offers a very friendly experience for her captain and crew. The scope of this restoration project will be painting the interior, deck and topsides, as well as fabricating new teak brightwork.

Sunday, July 23, 2017

Deck & Cockpit Sanding (Part 1)

July 23, 2017


Having nearly all of the hardware and brightwork removed from Joule - there are two lifeline stanchions yet to come off - I set out to begin taking the old and tired deck paint off.  I wanted to get down to the substrate to prep for the more involved task of recoring the few parts of the boat that required it.  But prior to beginning the day's task, I met with the owners to go over a few items, and to deliver a few odds and ends off Joule that will be reconciled in one way or another.  Topsides paint color choice was also discussed....but you'll have to keep following along for that big reveal!

After the owners departed, I set out with what was to be the primary tool for the day - the Porter Cable 7335 RO sander.  This workhorse is an essential item for removing layer upon layer of boat paint in as efficient a manner as possible.  The 7335 was discontinued for some reason, and I believe replaced by the 7345.  After acquiring the 7335 several years ago, I quickly realized this was a 'go-to' tool for a number of jobs - mostly all are miserable, but having the right tool makes a tough job doable.  I was fortunate to pick up another 7335 at a garage sale....for $10 bucks!!  Here's to many more hours of sanding bliss.

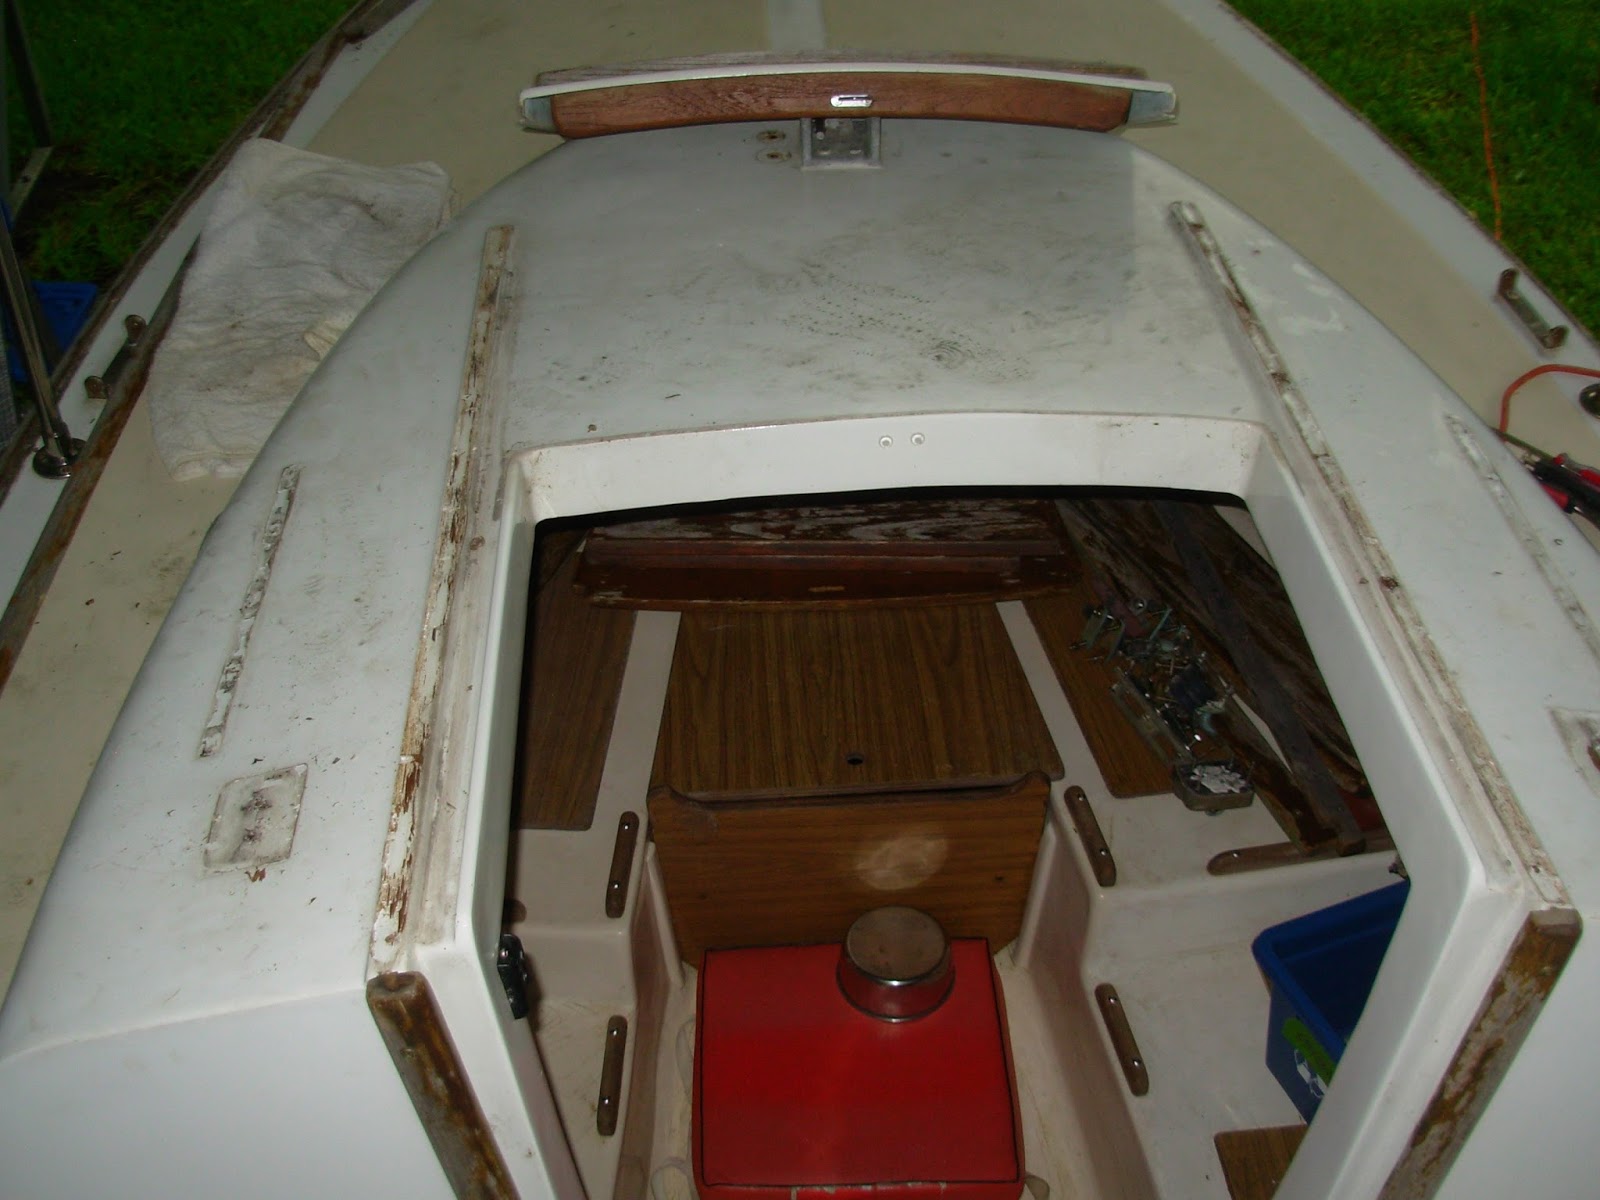
The photo below shows the poop deck prior to all the fun beginning.


Throughout the day, I used the 6" pad and 80-grit adhesive discs.  I set up the shop vac as well in order to catch as much of the particulate coming off the boat as I could.  I started on the poop deck, and then dropped down to the cockpit's aft bulkhead.


Once I had the poop deck and aft bulkhead of the cockpit sanded, I worked my way forward across both sidedecks and stopped just at the trailing edge of the nonskid.


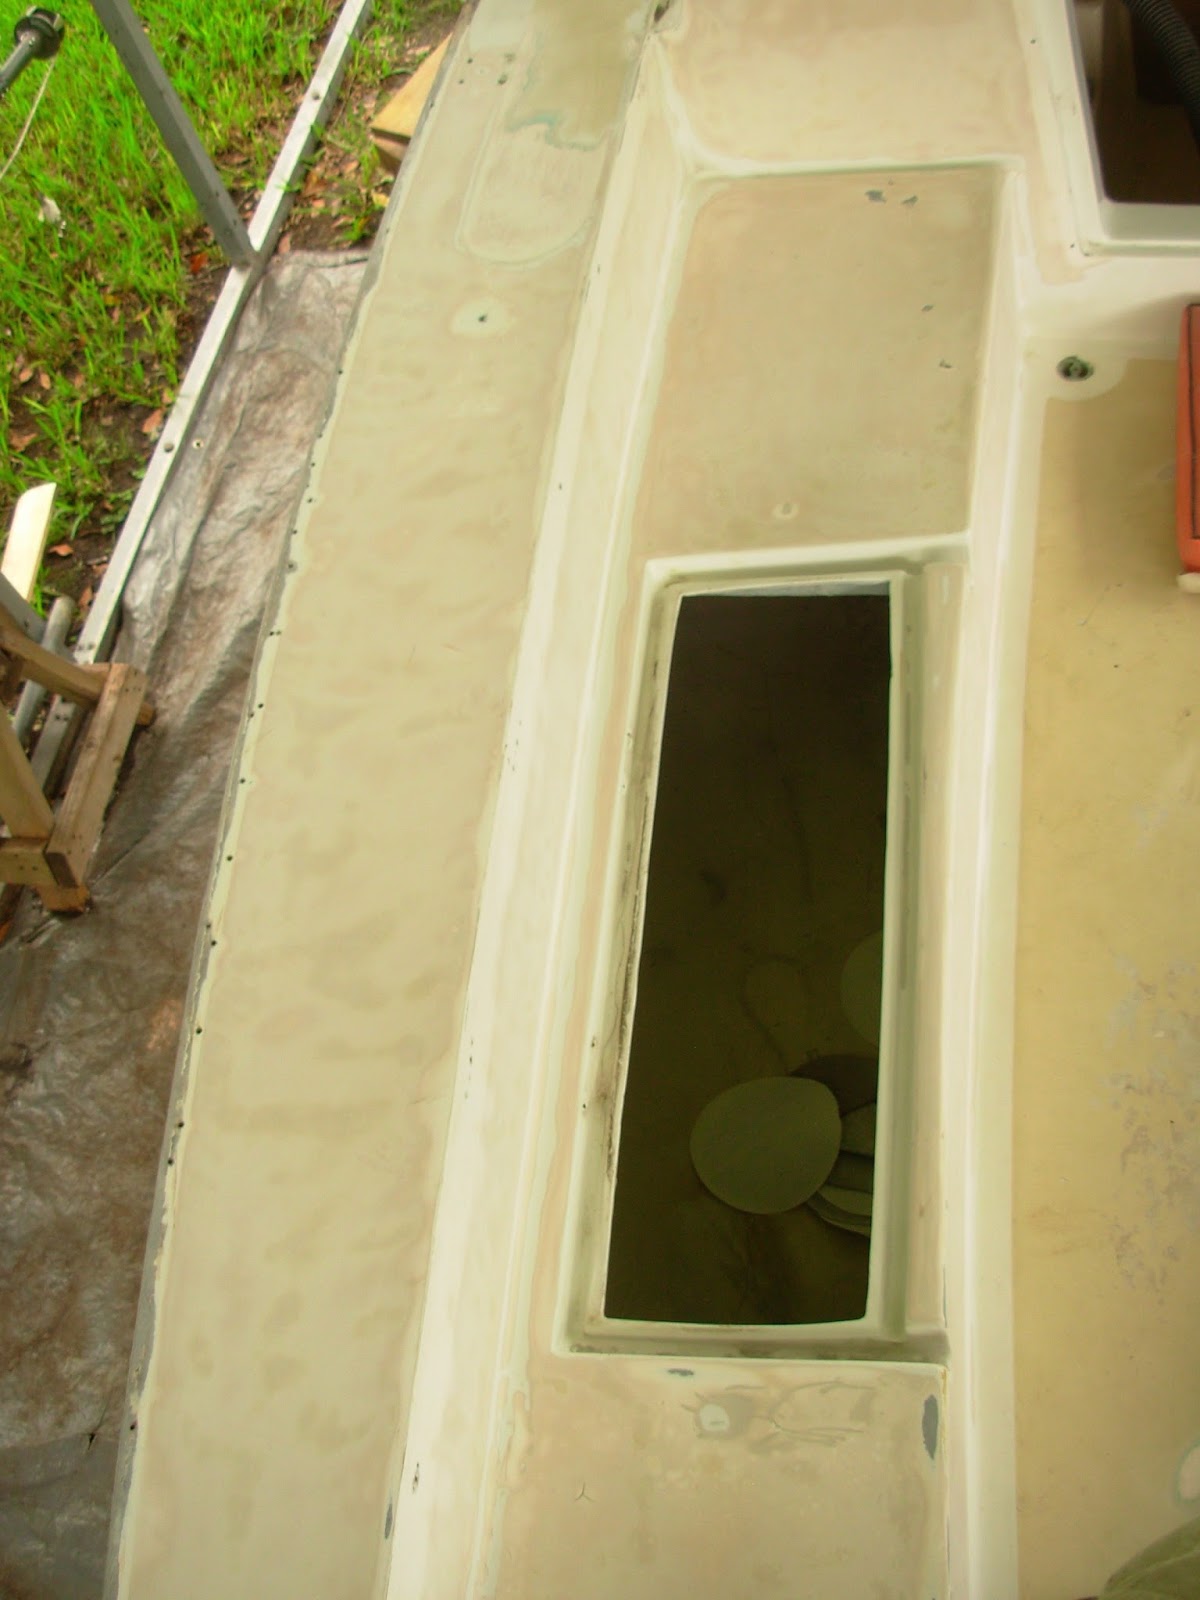
As I approached the aft of the cabin bulkhead, I dropped down to sand the molded fiberglass coaming and cockpit seats.


The vertical portion of the cockpit seats were also sanded...


...finishing up with the cabin's aft bulkhead.  There will be quite a bit of hand-sanding in the coming days in order to get into the spaces that the 7335 could not.  The worst part of any restoration, in my opinion, was well underway; looking forward to getting primer on Joule!


I finished the work session by inventorying the brightwork removed from Joule, and then measuring the various pieces so that I could get an order in for the new teak stock.  Cheers!


Total Time Today: 6.25 hrs


Final Hardware & Brightwork Removal

July 22, 2017


Spending the morning disassembling and giving my West System 306-25 epoxy metering pump a thorough cleaning and servicing with West System's rebuild kit, I would finally make it onto Joule in the early afternoon.  The hardener reservoir on the metering pump had developed a small crack on its underbelly. Being in full throes of global warming (my shop could use more ventilation as well), summer temperatures in Florida begin to move the plastic and breakdown the viscosity of the hardener and periodically force me to clean up an inconvenient mess.  The price of Wests System's hardener was motivation enough for rebuilding the metering pump, but besides that, I had some upcoming recoring work for Joule and having a clean and properly operating epoxy work station is just the cat's meow.

Today's work goal for Joule was to deliver her from the remaining splinters of brightwork and overabundance of hardware about her decks.  The previous owner was quite fond of bronze cleats and we'll leave it at that.  With a significant amount of sanding in my near future, and the work required to repair damaged core, I wanted to get down to the blank canvas.  I began work on the taff rail.  Judging from the rather straight forward removal of the starboard toe rail and rub rail, I had planned to dig out the `15 bungs hiding their fasteners, and remove them with ease.  Not to be.  Nearly all of the fasteners were frozen in place or would spin hopelessly in place.


Becoming frustrated with my lack of progress (timely progress), I resorted to more 'creative' means to  remove the taff rail.  Since I wanted to keep the rail to use as a template (in the roughest since of the word) for fabricating a new rail, my efforts were in removal using any means necessary while preserving the overall shape of the rail.  I settled on over-drilling the material immediately surrounding the fastener heads.  Using a small flathead screwdriver, I carefully pried the remaining material from the newly drilled hole.  At this point, I then applied a locking wrench to the fastener head and backed the stubborn screws out.    


Not a great way to get the day started, but the rail was removed and dimensions preserved.


I then turned my attention to the remaining hardware on the coach roof.  The port and starboard sides of the coach roof each held a small jib track with a fairlead and a small bronze cleat mounted on a teak block.  Original to the boat's deck layout, they would remain on Joule but needed to first come off for sanding and painting purposes. 


Removal of the small cleat to port was simple.  Securing the nut from below, I then backed out of the fasteners with ease.


The port jib track came off with ease as well.  I noticed more use of the 5200 product as the hardware  didn't relent its hold on the deck.


The starboard cleat came off without fuss...


...as did the starboard jib track and fairlead.


While I was working in this area, I went ahead and removed the companionway hatch trim - a simple means of keeping the hatch secured on the coach roof by means of teak trim material mounted on a raised fiberglass rail and overlapping a 3/4" tab running fore to aft on the companionway hatch itself. With these two pieces of teak trim removed, the hatch simply lifted off.  I also removed the companionway drop-boards, or washboards, from the aft cabin bulkhead (pictured in situ).


In speaking with the owners of Joule, it was clear that they both preferred to keep her decks uncluttered, and to generally return her to her original deck plan.  With that goal in mind, I set out to remove the two forward deck cleats that were not originally part of the Cape Dory Typhoon deck plan.  In both installations here, the previous owner used bronze cleats with stainless steel fasteners and an iron backing plate.  Gone!  I then turned my attention to the single forward deck cleat which is part of the original deck plan.  Bow lines, both port and starboard, are run through the stem fitting and aft to this single cleat, whether on the dock or a mooring. 


With nearly all of the deck hardware removed, I then set out to take care of the port toe rail and rub rail.  Using the same process for the starboard rails, I slowly made my way the length of both rails for final removal.


The shot below shows the flathead fastener being backed out just after removing the bung.


At the close of the day, I decided to clean up the port rail area with a few 80-grit discs just to see what I was dealing with in the substrate.  Not too bad really.  There are a few areas requiring some attention in terms of 'fill and fair' work, but most of the surface area is in good shape.


I sanded a section of the deck where the taff rail had been mounted and saw that a bit more work would be required here.  That rounded out the day's work on Joule.


Total Time Today: 5 hrs