
January 7, 2018
The day arrived to get the rails onto Joule! Always a difficult prospect as a solo venture, bending a length of teak that naturally wants to maintain a linear disposition, but nevertheless was able to overcome. I began at the forward section of the starboard toe rail, and with a pencil and a chisel notched out relief for the stem fitting. Covered with tape to protect during painting session, there is a flange that reached back roughly 3/4" helping to secure the toe rail in its proper position. With the forward end the starboard toe rail resting securely against the stem fitting, I started with that first of many fasteners to come.
The process I used for securing the toe rails to the deck and the rub rails to the topsides was, as follows: pre-drill for the #10 fastener with a 9/64 bit, clear away drill tailings (as best one can), and drive the #10 fastener in to secure that section of rail.

I progressed toward the aft of Joule on the starboard rail, securing it as I went. The fastener I used for the toe rails is a 1.25" #10 panhead self-tapping, or sheet metal screw. Designed for fiberglass work, among other materials, the sheet metal screw will provide excellent holding strength for the rail.

With the teak rail resisting the sheer line and the curvature of the deck, I had to use a series of lines as a second set of hands. I frequently adjusted the lines, pulling the trailing edge in tighter to the hull as I worked my way towards the stern.

With the starboard rail in place, I jumped over to the port rail and repeated the process for dry-fitting it onto Joule. It was good to get a bit of wood on deck. to help define her lines.
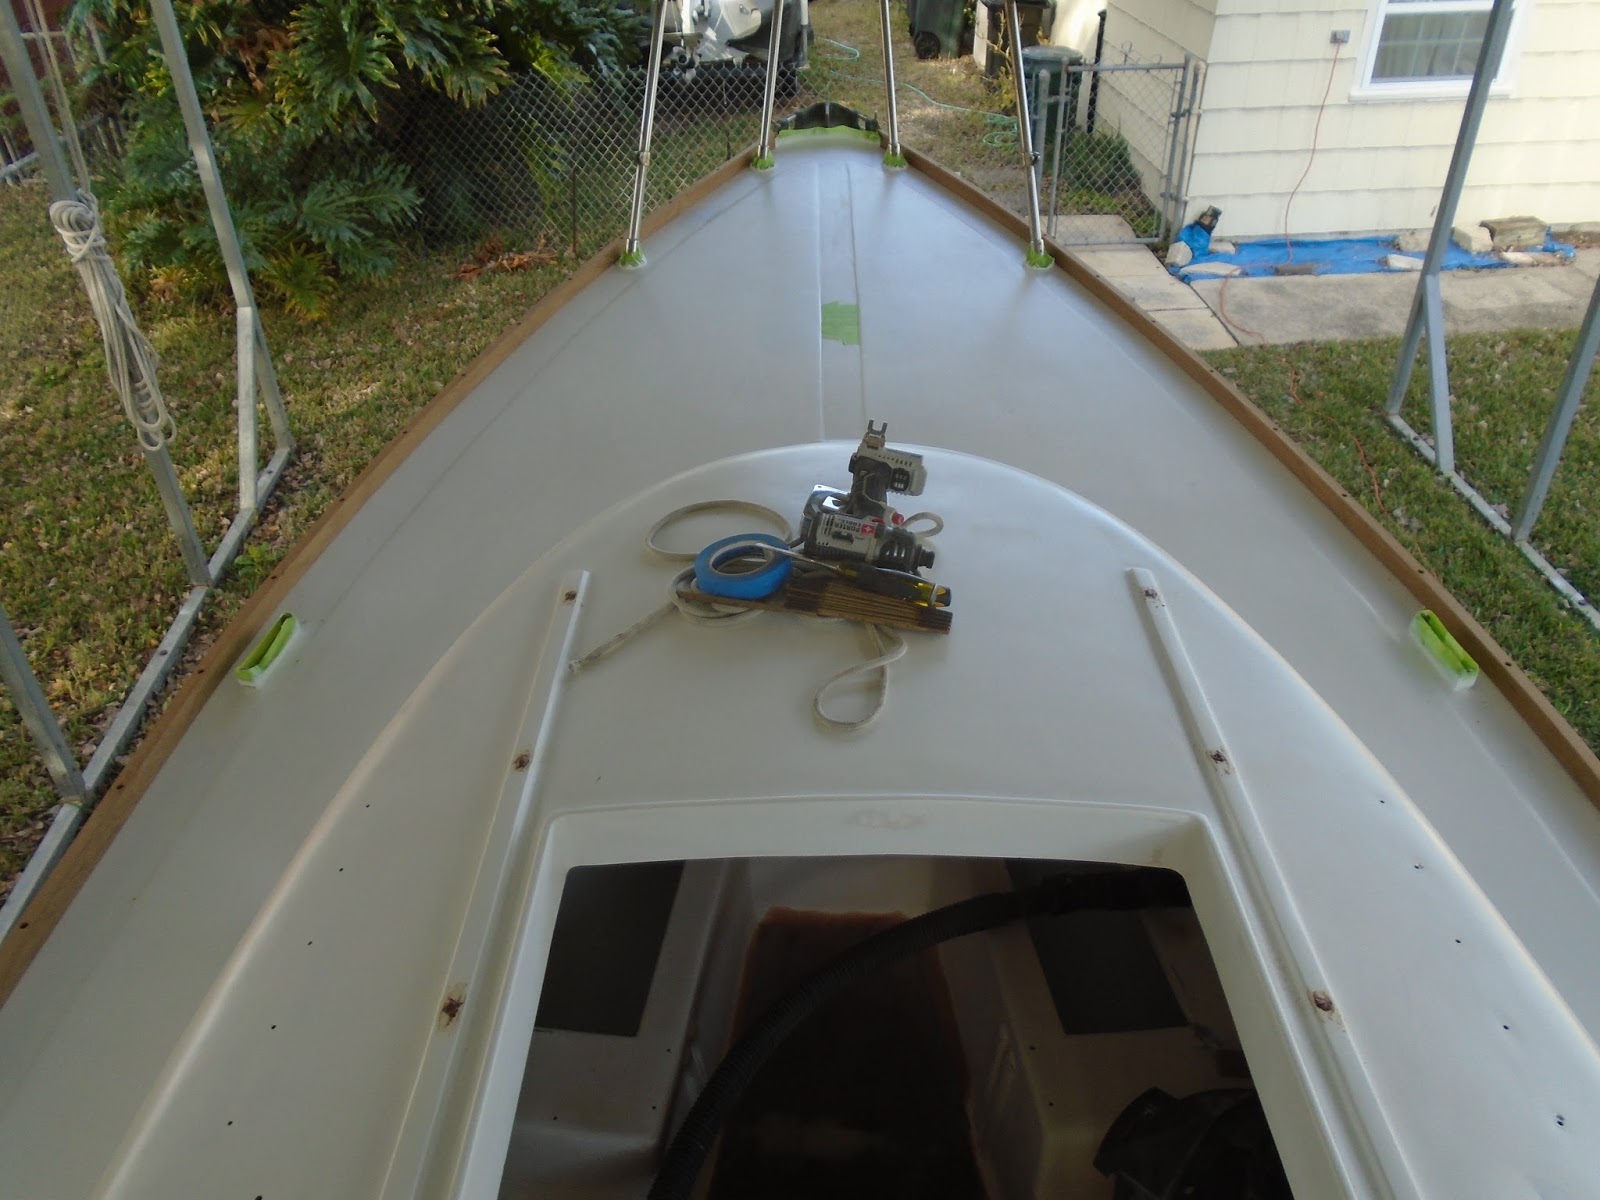
At a later date, I will taper and smooth out the sharp edges and create an overall pleasing profile for the toe rails.

With the toe rails in place, I transitioned to the rub rails. The upper edge of the rub rail rests at the base of the toe rail, and are fastened with 1" #10 panhead sheet metal screws.

I worked my way aft on the starboard side, and after completing that, moved over to install the port rub rail. Joule looks great with her new brightwork.

Total Time Today: 6.5 hrs
No comments:
Post a Comment