This blog will document the restoration of Cape Dory Typhoon (Weekender) Hull #1044. The Cape Dory Typhoon is a great sailing small-scale 'yacht', and offers a very friendly experience for her captain and crew. The scope of this restoration project will be painting the interior, deck and topsides, as well as fabricating new teak brightwork.

Tuesday, November 14, 2017

Recor-ing the Foredeck

November 14, 2017


Arriving home from work, I changed and went straight to work on Joule's foredeck in an attempt to get things laid up today.  Alas, it wasn't to be, but I did make good progress.

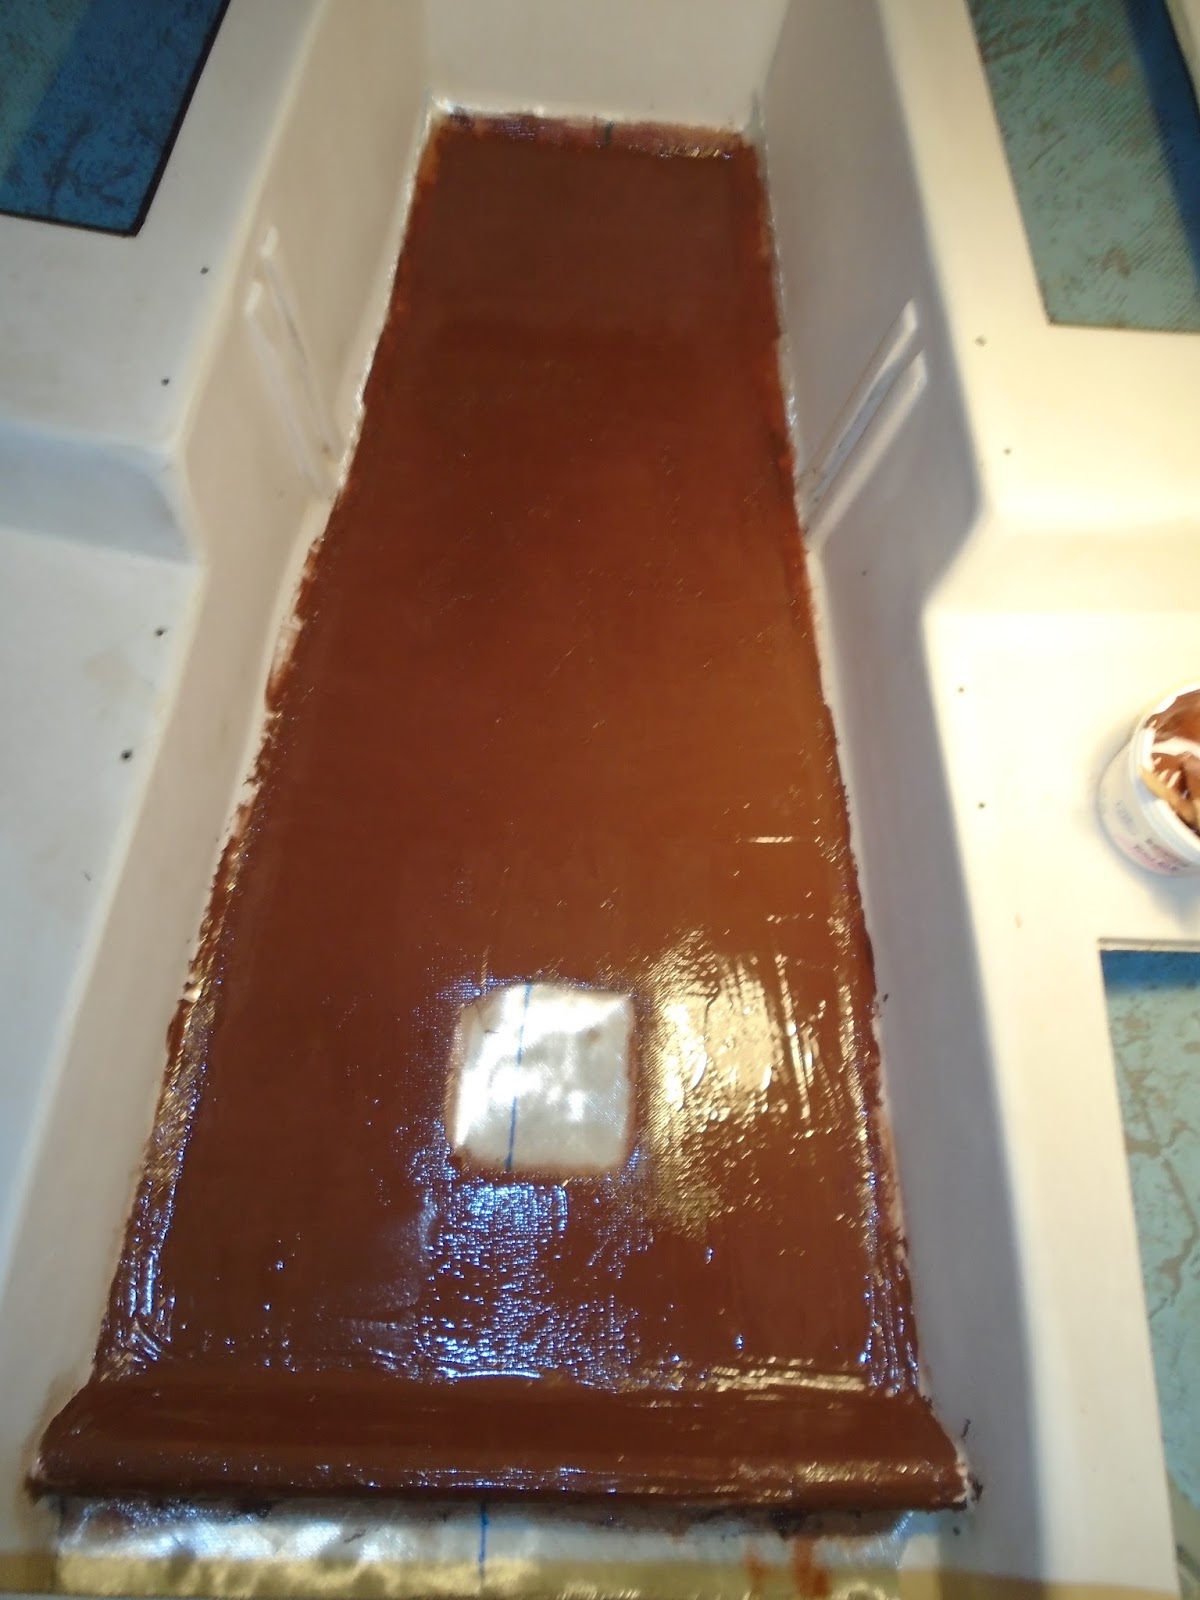
I took some measurements of the G10 material that I had in the shop, and used that to more or less determine a rough dimension for the removal of the top skin.  In the photo below, the larger hole in the deck served as an inspection point for the condition of the core - it was in need of replacing.  


I transferred the measurements of the G10 (to serve as the new core material) to the deck, knowing that I could always cut a larger opening if the first cut did not get past bad core material.  


After making the outline cut, I proceeded to make a few additional cuts in the field to aide in removal of the top skin.  I was able to achieve good, solid core just outside a ~1" diameter from the original fastener holes, so I called it good.  I then removed the remaining bits and pieces of glass and balsa core with the oscillating tool, followed by a good sanding to remove the last of the finer material remaining.  


I then used the 4" angle grinder to taper the edges out to accept the new fiberglass top skin.  Before moving on, I thoroughly vacuumed the surfaces and then wiped them down with solvent to prep for new work.
Before moving on, I took a measure from the stem fitting to the original fastener holes for future reference - not intending to attempt to drill and tap new fastener holes in the same location, but so that I can slightly alter the new installation to avoid these original holes.


I brought the G10 slabs out for a test fit, and was a bit disappointed that it wasn't quite a perfect fit, but well enough.  You know what they say, "perfect is the enemy of good."


At this point, I used plastic sheeting to create patterns for the new top skin installation.  In testing the G10 fit, I determined that a bed of thickened epoxy would be applied to the bottom skin, I would then place the G10 core firmly in the bed of thickened epoxy - which will bring the top of the G10 in plane with the original top skin surrounding it.  I will lay one layer of 1708 across the entire surface, and then come back with one to two narrower strips of cloth to starboard and port of the center-line to help create the raised nonskid area.  Some fairing will no doubt be called for, but this plan should get me well on my way. 


Since I was fast losing sunlight, knowing that I could not comfortably continue, I decided to secure the large hole in the foredeck with plastic sheeting. 


Back in the shop, I did get to roughing up the surface the G10 core material, creating a surface for good mechanical bonding, and also cut out the patterns for the 1708 biaxial cloth that is to become the new top skin.


Total Time Today: 1.75 hrs

Sunday, November 12, 2017

Cont. Cabin Sole (Sand & Fair), Sanding Hatches, and Miscellaneous

November 12, 2017


With a needed errand completed in the morning, and after a Belgian waffle with warm maple syrup and copious amounts of butter,  I final rolled myself out to Joule to pick up where I had left of Saturday. I got started with a good water-washing on the areas that I had applied a skim coat of 407 low-density to.  I did this to cover the 410 microlight that I had applied prior and that I had sanding fair.  The reason for the 407 application was to prep the substrate for the eventual darker coat of Interlux Perfection Rochelle Red...soon to be applied.  I decided to skip sanding the topsides and went onto Joule to water-wash the cabin sole.

In the prior day's session, I had applied the final layer of 1708 biaxial and then applied a skim coat of thickened epoxy to fill in the weave and taper the radius from sole to vertical surfaces of the molded interior.  Now, with this area cleaned of the amine blush, I dried the surfaces and prepared the sanding gear - the RO with 80-grit sheets.  In the picture below, I have completed the sanding, with the exception of the corners.  For the corners and tighter spots, I used the Bosch oscillating tool's hook'n'loop sanding pad.  The cabin sole is now extremely sturdy to walk on!


After I had thoroughly vacuumed the surfaces, I went over them with a rag that I had doused with solvent to take up any remaining sanding residue.  With the cabin sole surfaces now able to offer a good mechanical bond, and cleaned of contaminates, I mixed up a small batch of thickened epoxy to skim areas that were showing cloth weave and also a few low spots.  Overall, the cabin sole is just about ready for primer. 


I also took some time today to sand a couple larger areas, both port and starboard, that had been worked by the previous owner.  There is quite a bit of flex in the molded interior, and can most likely be attributed to the damage sustained on the exterior of the hull.  The gobs of glue-like substance used to bond the molded interior to the interior of the hull probably failed at some point - allowing the molded interior to flex.  


This application of thickened epoxy will help clean up work that could have been better.  We're not going for perfect here, just to fill low spots and produce a painted surface that is more or less fair.


Climbing out of Joule, I went back to the shop to work the hatches, getting them closer to primer paint.  I started off by water-washing the surface of the companionway hatch.  For the sanding work, I used the RO sander and a 120-grit disc to knock down the 410 microlight that I had applied to both the top and underside surfaces.  With that complete, the companionway hatch was nearly ready for primer; however, the exterior surface required a skim coat to fill couple low spots, so I mixed an ounce of epoxy, thickened it and played it on with a plastic squeegee.  


I set the companionway hatch in a  corner of the shop to cure, and then brought out the cockpit locker hatches.  I had water-washed them in a previous work session, so they were ready for sanding work.  In previous work on the cockpit locker hatches, I applied a coat of epoxy as a sealer coat - applied with a foam brush.  At this point, sanding the hatches was essentially getting them ready for their first coat of primer.


I hand-sanded the hatches, both top and undersides, using 180-grit sheet sandpaper.  


The pictures above and below show one hatch down and one to go!


With both hatches sanded, vacuumed and wiped down with solvent, I went back and boarded Joule for a couple miscellaneous items.  First, I used a tapered bit and drilled out a couple dozen small fastener holes on the overhead and molded interior surfaces.  I had been neglecting these (not work as efficiently as I could), but I took the few minutes needed to complete this task.  The more significant item that I returned for was inspection of the old fastener holes, and more precisely the deck core surrounding them, to see condition and if any further work was required here.  Being a significant deck fitting (the only cleat forward on Joule), I wanted to ensure that the core was sound and strong for this cleat.


I used a 5/8" forstner bit to drill out one of the fastener holes, through the topspin and the core but keeping the bottom skin in tact.  


Sure enough, the core around the foredeck cleat installation was black and crumbly.  I will make this work a quick recore effort in the coming week.  I have a piece of G10 that has been hanging around the shop for quite some time, and using it as the core will beef this area up dramatically.  Using the G10 will also naturally isolate the surrounding remaining good core from any future water ingress.


Total Time Today: 4.75 hrs

Saturday, November 11, 2017

Cont. Cabin Sole (Final Layer of Glass), Fairing Topsides and Sanding Cockpit


November 11, 2017


After a much needed mowing of the lawn, I got straight to Joule with intentions of finishing up the cabin sole recore work, among some other miscellaneous items.

The first things to do was to water-wash the spot-filled areas on the topsides and the previous fairing application on the cabin sole.  I scrubbed the surfaces down with water and a scouring pad, and then dried them off.  Using a combination of hand and the RO sander with a 120-grit pad, I took the epoxy down to a fair surface with the surrounding topsides surfaces.


...both port and starboard sides.


While I had the sanding gear out, I went ahead and cleaned up the surfaces of the newly cut portlight openings.  Of course, I also scrubbed the previous fill work to remove the amine blush.


Sanding the portlight openings were mostly done by hand, for obvious reasons, and generally cleaned up on the cabin exterior and interior surfaces with the RO sander.  Later in the evening, I solvent cleaned these surfaces and brushed a layer of neat epoxy to further seal the epoxy fill work. 


With the portlights and hull sides addressed, I went to work on the cabin sole.  The previous fill work progressed the recore along nicely, but since I wanted to layup one more layer of 1708 biaxial to tie in the entire sole surfaces, I did not obsess over the fairness of the surface.  As it turns out, I did not have too many low spots to rework with fairing filler.  I sanded the surface down with the RO sander and 80-grit pads.


With the surface of the cabin sole sanded, I vacuumed and wiped it down with a solvent exceedingly well.  I then prepped the surface for that final layer of glass by filling the spot areas that required it as well as the forward section of the sole that did not require recording work.


I had taken measurements prior to spot-filling, and so then now took those measurements to the shop to cut that final layer of 1708 biaxial.  My approach was to cut a slightly larger piece of cloth to fit the cabin sole, bend the edges up the sides of the molded seating, and just wet out the sole and radius of the turn from sole to sides of the molded seating.  The sides fit nicely within the radius, the forward end was slightly longer than required, and then I purposely went longer on the aft end in order to tie the sole into the 'damn' molded into the cabin sole.


With the glass fully wet out at this point, I used a fin roller to ensure good adhesion and no air bubbles remained within the laminate.


My final item for the core today was to allow things to tack up a bit, and then fill in the weave with some thickened epoxy.  Filling in the weave at this point is much easier than allowing the glass to set up, water-wash, sand, and then fill it in.  With filling the weave in now, I reduce a few steps and create a chemical rather than mechanical bond for the thickened epoxy.


Total Time Today: 4.25 hrs