This blog will document the restoration of Cape Dory Typhoon (Weekender) Hull #1044. The Cape Dory Typhoon is a great sailing small-scale 'yacht', and offers a very friendly experience for her captain and crew. The scope of this restoration project will be painting the interior, deck and topsides, as well as fabricating new teak brightwork.

Wednesday, March 7, 2018

Cockpit Nonskid, Companionway Hatch Trim, and Hardware


March 7, 2018


Getting home and straight to work, I begun by sanding the area within the cockpit sole to be painted with nonskid paint.  I used 150-grit paper over the surface, and then vacuumed and solvent washed the surface to clean and prep it for painting.


Painting on the nonskid was a simple matter of rolling it on, being careful to not let the roller get too quick in the hand and splattering the fresh paint and trim elsewhere.  A second coat will go on tomorrow evening and bring the painting to a close.


I placed the newly fabricated cockpit hatches in place.


Next, I mounted the companionway hatch and its trim - both the top and bottom slide handles.


To complete the work this evening on the companionway slide hatch, I glued in the five bungs with varnish.  One of the last items to complete will be the trimming of bungs on the companionway slide hatch, the aft cockpit trim, and the starboard coaming block...followed by additional coats of teak oil.


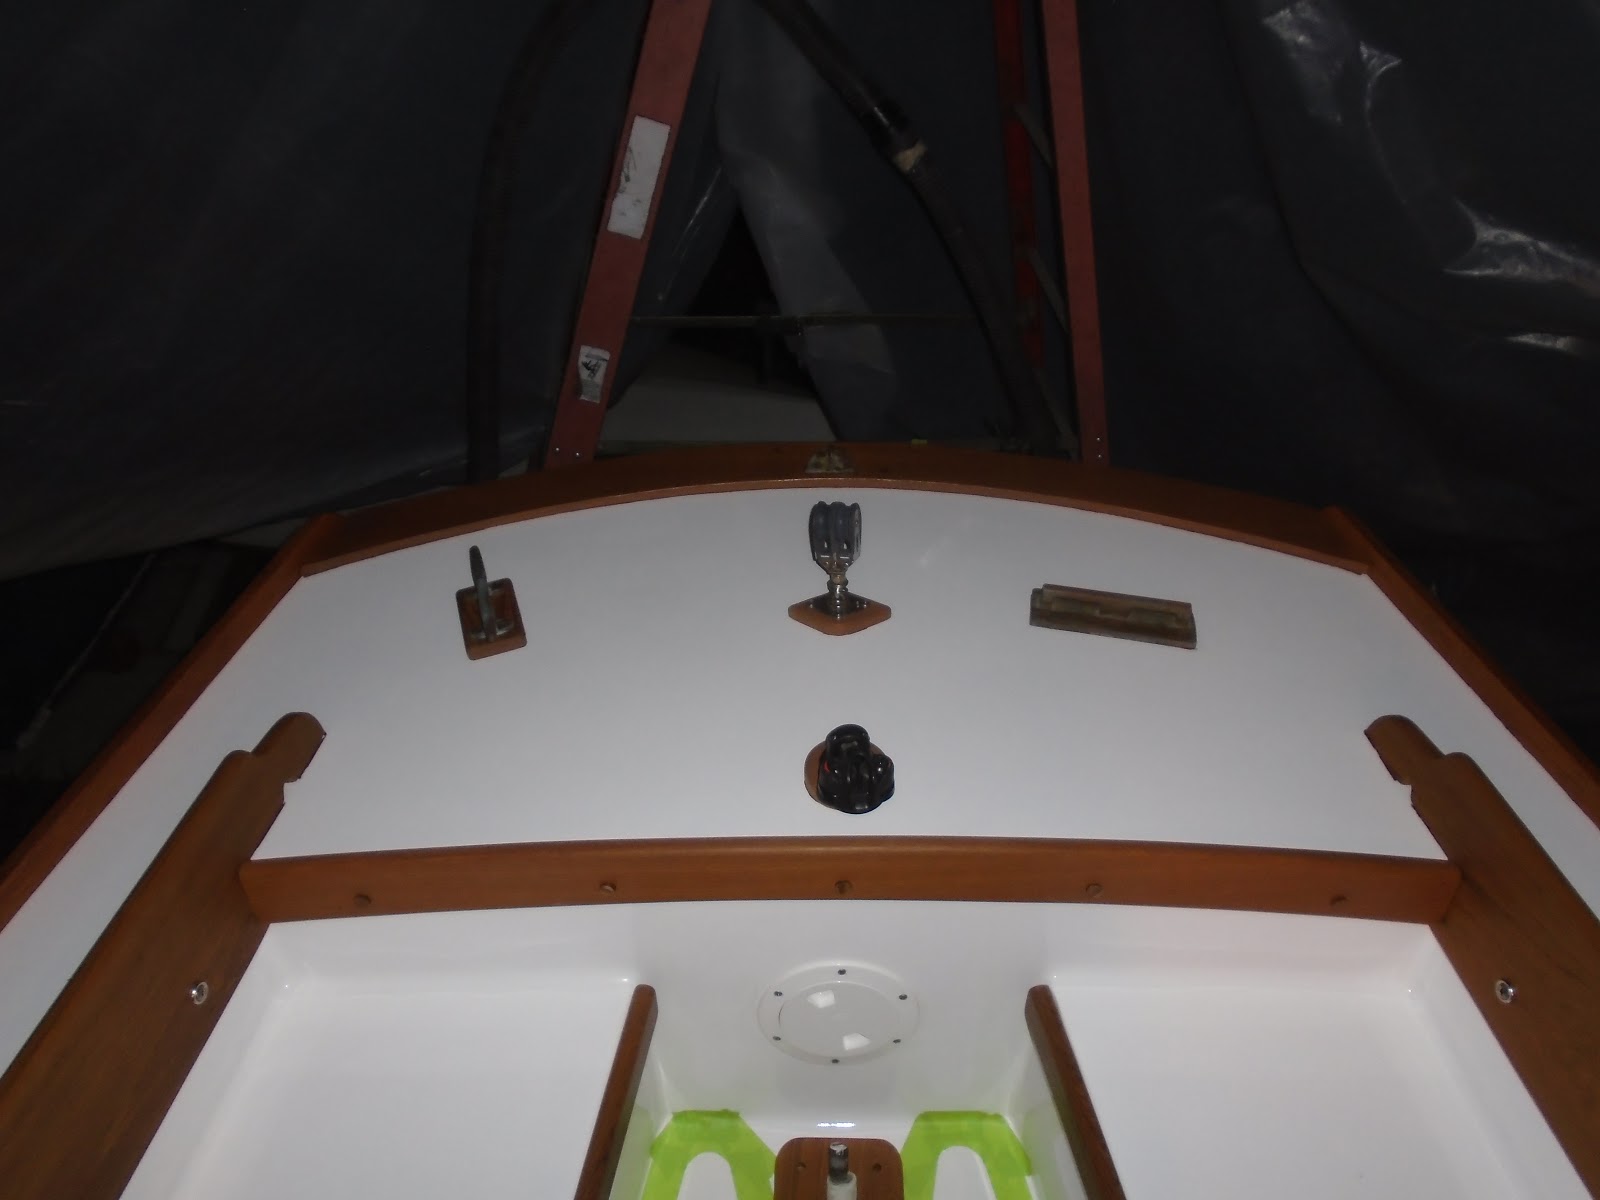
The last two items for the evening would be the taff rail chock and the base for the flag pole.  I selected the mounting location, marked for fasteners, pre-drilled for those fasteners, tapered the top of the taff rail for each fastener hole, and then mounted the hardware with polysulfide sealant.  The bronze chock was secured with bronze fasteners and the 316 stainless base for the flag pole was secured with 316 stainless fasteners.


Total Time Today:   1 hr

Monday, March 5, 2018

Brightwork, Interior and Hatch Painting


March 5, 2018


Not able to get to Joule over the weekend due to a scheduled trip that took me to the northeast, I was eager to get back at the last of the "punch list" items.  Today was the day for the drain holes to be cut into the toe rails.  These drain holes would allow water egress.  I began by finding the low spot on the deck, and then fine-tuned my decision based upon where the toe rail fasteners were located, as well as the potential of the jib track fasteners yet to be installed.  Once I was happy with the location of the toe rail/deck drain, I applied some tape to protect the surface of the toe rail from clamps.  The clamps were used to hold a scrap piece of wood on the backside of the rail to prevent tear-out when drilling through the rail.  The width the drain hole is just shy of one inch.

I removed the tape and began to remove the material between the two holes with a chisel.


I would come back later in this session to oil the interior surfaces of the toe rail/deck drain; I also repeated these tasks for the port rail - locating the drain at the same point, just aft of the winch base.


I then turned my attention to oiling the teak.  With the drain holes cut and the bungs trimmed, it was time to reapply oil to the brightwork - especially the toe rails since I was needing to install the jib tracks in the coming days.  


I applied several coats of the oil to the brightwork.  I do have three bungs to trim on the starboard coaming block (just installed the bungs this evening), as well as the aft cockpit trim board.  These areas will get teak oil applications as the balance of the brightwork received today.


I applied another coat of interior paint, and was generally satisfied with the coverage at this point.  There may yet be another application of interior paint prior to Joule leaving the yard, but this is also a great owner project and will likely be one of their annual maintenance items.


To finish the evening's work, I sanded the hatches and reapplied the Interlux Perfection topcoat - bringing the cockpit hatches to 3 coats.  The plan is to get one more in before all is said and done.


Total Time Today:   3 hrs

Friday, March 2, 2018

Cont. Brightwork and Hardware Installation, part 3


March 2, 2018


I made it a point to tackle a couple more items ahead of a previously planned weekend trip.  I grabbed the aft cockpit trim board from the shop, some tools for installation, and headed over to Joule.  The installation was fast and simplistic - mounting the trim with #10 machine screws, backed with washers and nuts.  There was a bit of an awkward angle to overcome with the nuts and washers for the fasteners nearest the access plate, but I managed.


With the aft cockpit trim in place, I turned my attention to the port side cabin cleat.  The additional fasteners that  I order arrived in the mail today, so it was time for this cleat to be mounted.  I tapered the holes through the deck, the underside of the deck and pad, as well as the top side of the deck pad. I then cleaned the surface of the boat, applied a good amount of polysulfide, and then placed the pad and cleat into position.  three 3.5" bronze 1/4-20 machine screws, backed with washers and nuts, secured the cleat in place. 


I then set out to trim all of the bungs yet to be trimmed:  the cockpit seat trim and the vertical and horizontal companionway trim.  This was the most time consuming part of the evening's work, having to trim and then sand through a few grits of paper to blend the surfaces well.  For all the brightwork that has been bunged, I will come back with another coat of teak oil prior to Joule's departure.

I finished the work of trimming the bungs and then headed back over to the shop.  The aft cockpit trim required 1/2" bungs, and since I did not have any of those prepared, I grabbed a piece of the teak stock and my 1/2" bung cutter and got to work making 5 of them.
I removed the 5 bungs from the block of teak with a trim saw, cleaned them with solvent, and with a bit of varnish (glue) headed over to Joule for the install.  I painted a bit of varnish on the bungs and tapped them into place, one at a time.


I cleaned up for the night.

Total Time Today:   2 hrs