This blog will document the restoration of Cape Dory Typhoon (Weekender) Hull #1044. The Cape Dory Typhoon is a great sailing small-scale 'yacht', and offers a very friendly experience for her captain and crew. The scope of this restoration project will be painting the interior, deck and topsides, as well as fabricating new teak brightwork.

Saturday, February 17, 2018

6th (Final) Topsides Coat & Priming Cockpit Seat Hatches


February 17, 2018


With great weather and an eagerness to wrap up the painting, I set out to sand the topsides for the last time.  I grabbed a sheet of 400-grit paper, divided it into manageable work squares, I made my way around Joule's topsides.


At the conclusion of the first round around the hull, I came back with the vacuum and a square of 400-grit paper to hit spots that were missed.  I spent extra time on getting the hull's paint imperfections leveled out and faired, since this would be the finish coat.  


With the sanding complete, I made my way over to the shop to mix a pot of paint - 9oz total of both parts A and B, and would thin with 1.5oz of 2333N brushing thinner just prior to paint application.  While the paint was catalyzing and per usual, I wiped the surface of the hull down to clean the remaining sanding dust and debris.  Paint went on easily. 


During the work session, the owners dropped off the cockpit seat hatches for additional work.  I set the hatches to the side for later work.  I had an appointment away from the shop, and tended to that immediately following the hull painting.

Back on property, I got straight to the cockpit seat hatches, sanding them with 120-grit paper using the RO sander and by hand as necessary.  I set the hatches on blocks in the shop and prepped them for primer coats - Interlux Primekote.


I laid down the first coat of primer, and then set out to do some miscellaneous
work related to Joule's brightwork.


With the first coat tacking up, I then laid down the second coat of primer.


Again, with the second coat taking up, I laid the third and final coat of primer on the hatches.  Sanding will follow, and then the finish paint - Interlux Perfection, Mediterranean


Total Time Today:  7.25 hrs

Thursday, February 15, 2018

Fourth Coat Cabin, Cockpit & Companionway Slide Hatch


February 15, 2018


Arriving home, I quickly suited up for a sanding and painting session.  I am building up to final coat on the cabin and cockpit, and likely the penultimate coat was going on today.

I worked the cabin and cockpit, as well as the companionway slide hatch, with 400-grit by hand.  The iterative process of sanding out imperfections and applying the thin coat of finish paint (Interlux Perfection) is tedious but necessary.  I would love to have a controlled space for spraying...and just be done with primer in one day, and finish paint in one day!  But alas, my homemade "paint booth" was all that I had...,"Guv-na." 


I mixed a pot of paint, set it aside so that it could catalyze, and then vacuumed and wiped clean the surfaces to be painted.  With paint now thinned and in hand, I worked my way from cabin to cockpit without any issues.


This fourth coat will very likely be the preview to the final coat.


I left Joule and returned to the shop to apply paint to the companionway slide hatch.  There is adequate coverage on the slide hatch, but I regularly seem to have just enough paint left in the pot to apply yet another coat to the hatch.  


Total Time Today:   1.75 hrs

Tuesday, February 13, 2018

Third Coat CabinTop & Companionway Slide Hatch


February 13, 2018


Arrived home and went straight at sanding the cabin top.  I sanded with 400-grit, vacuumed the surfaces and then wiped them down with a rag dampened with solvent.  The paint was catalyzing while I prepped the surface, and once I wrapped up the prep work I was ready to thin the paint.

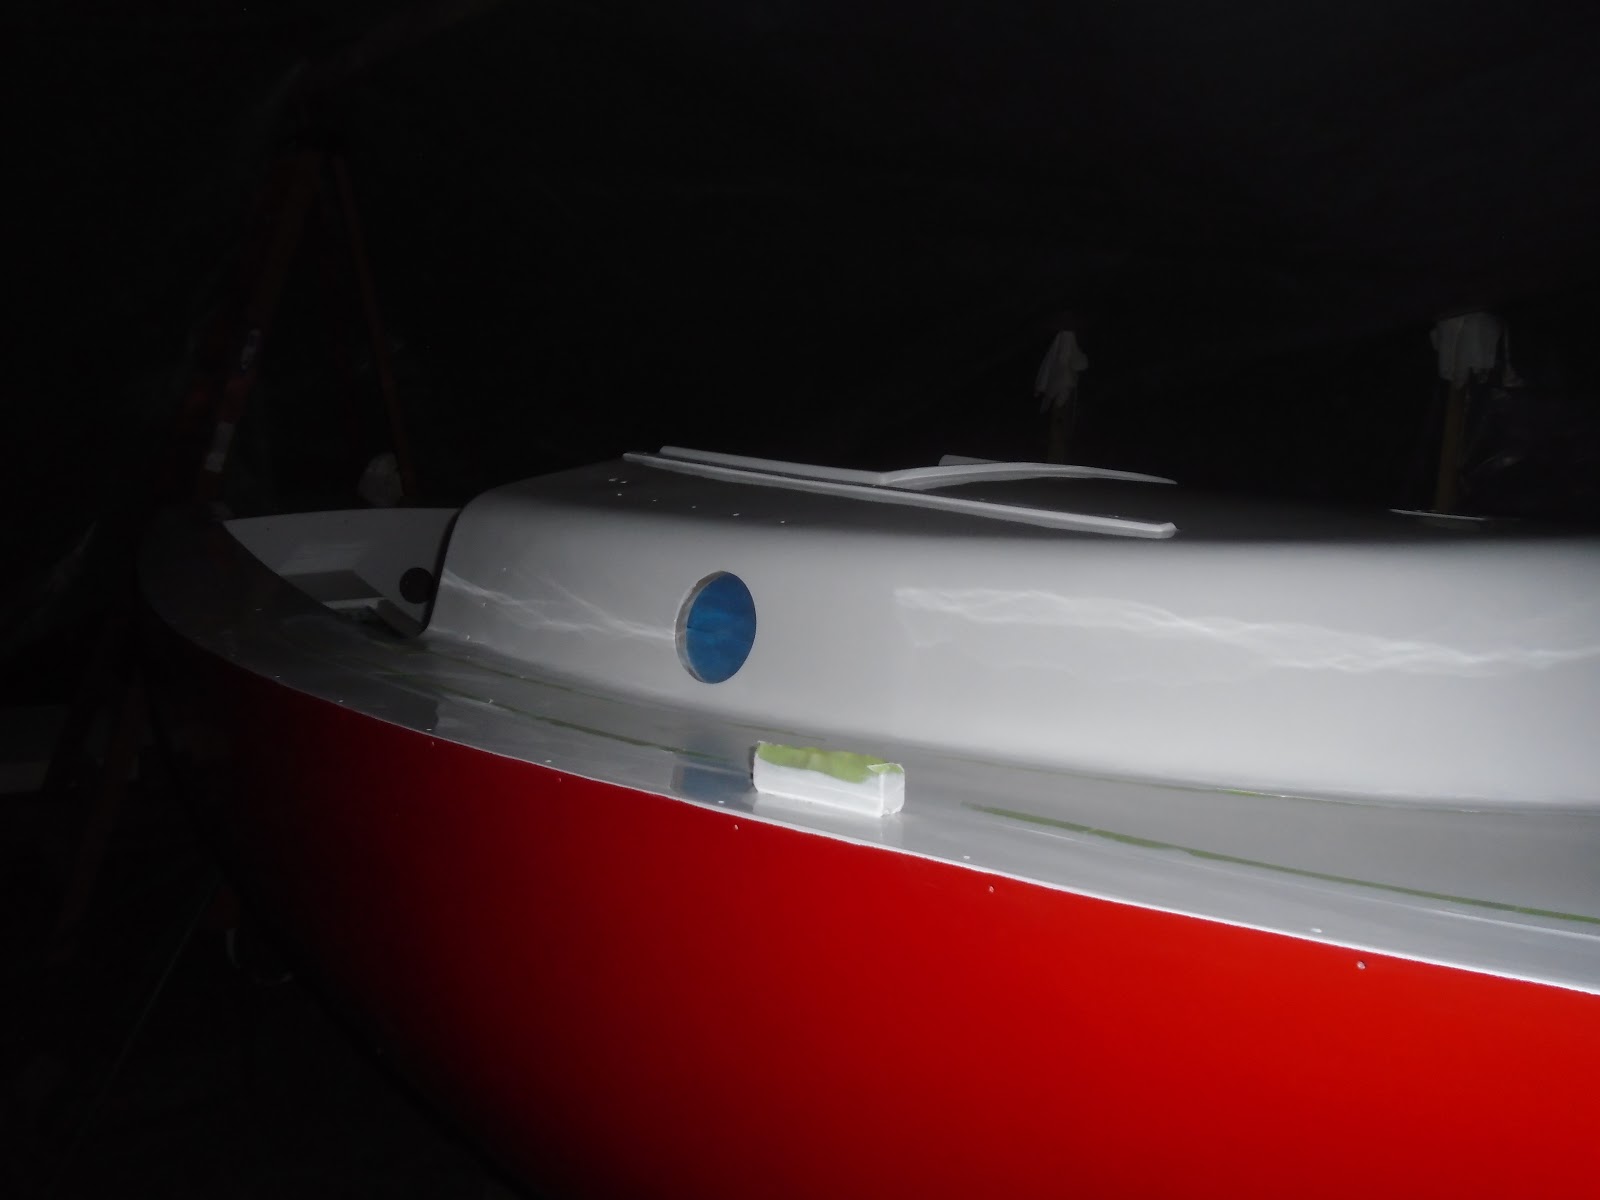
With gear in hand, I made my way back over to Joule, and began paint application.  I did have an overhead light rigged in the "paint booth", but I switched it off before ducking back in to snap this photo.

There's another two coats to apply to the cabin top and sides, and then brightwork and hardware installation begin!


Total Time Today:  1.5 hrs