December 3, 2017
Picking up where I had left off from yesterday, I water-washed the amine blush from the now cure fairing work: the foredeck, cabin sole, as well as spot areas here and there. I've had such focus on the larger to-do items that I seem to keep finding small blemishes that could spoil an otherwise great finish paint application. So, slowing down a bit while working across Joule, I took the opportunity to spot-fill areas that required it. I took note of those smaller areas before addressing the day's more significant items.
The first of the items for the day was to further dial-in the foredeck recore work. I spent a few minutes with the RO sander quickly knocking down the areas where the fairing compound was at its thickest. With 80-grit and 320-grit paper, and a firm longboard, I spent most of my time hand-sanding the raised nonskid portions of the deck first, and then moved to the space between - the ultimate location for the foredeck cleat. Upon vacuuming the powdery remnants, I noticed but just a few pinholes that required further fairing work.
After I finished the foredeck, and felt comfortable with its appearance, I turned my attention back to the cabin sole. In the previous session, I filled the weave in after blending the newly laid layer of 1708 biaxial. Both with the RO sander and by hand, I brought the surface and radius transitions to fair with the surrounding surfaces. Like the foredeck, there were just a few areas requiring some work to fill the pinholes prior to paint.

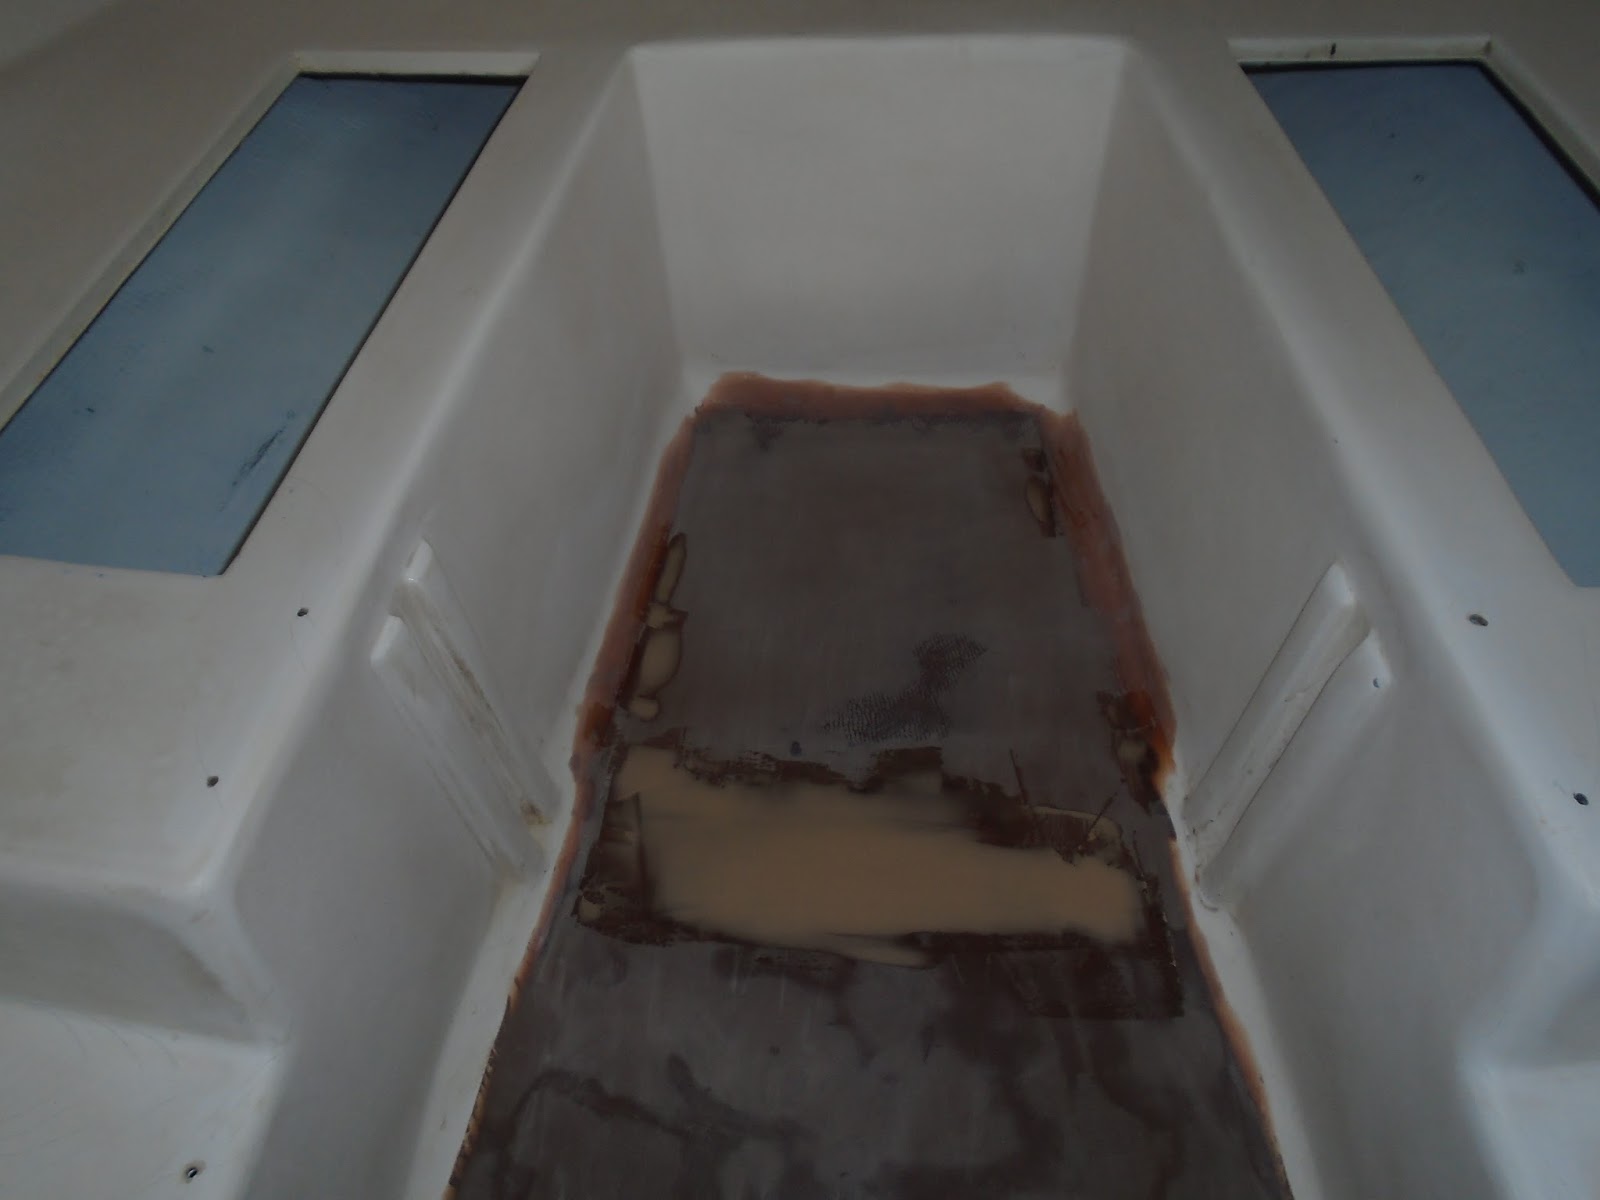
While I was working on the interior, I came across a weak area outboard on the starboard side of the v-berth. There was likely a previous repair done to this area, but one that was not as thorough as it should have been. With the owners of Joule napping at anchor, it would have been a matter of time before the new paint revealed a significant crack in the topskin. I removed a small section of the topskin, careful not to push through the entire liner, and removed the brittle material. I then sanded a taper around the opening to accept an epoxy application. The size of the repair did not necessitate recording and laying up of a new topskin, and to that end I prepped for epoxy work. I vacuumed the loose material and dust, wiped the interior as well as surrounding surfaces with solvent, and then mixed an ounce of neat epoxy. I thoroughly wetted the original core and liner, and then applied thickened epoxy to the opening. I forced material firmly into the void, and with a squeegee applied enough material which would enable me to quickly sand down to a fair surface.

While inside, I also addressed the spot-fill areas - mostly not the liner and which represented old fastener holes for the VHF and a shelf installation.
I then highly sanded the bilge and locker spaces below the v-berth and under the port and starboard settees; I vacuumed and solvent-washed the surfaces to prep for the next round of paint (sorry, no photos). With all of the prep work complete, I moved back onto the foredeck to apply the final round of fairing compound. In this instance, I used
West Systems 410 Microlight, and applied it as a thin layer with a squeegee, ensuring I filled those pinholes. Earlier in the day, I made a slow circle around
Joule, making note with pencil-to-topside of the pinholes that required fairing. I marked the locations by circling them, and then hand-sanded the smallish areas before wiping the surface with solvent. I applied a very thin film of neat epoxy to prep for the fairing compound to come.

I then moved below and repeated the same process for the forward portion of the cabin sole. After finishing up the light fairing application on the cabin sole, I used the balance of the remaining Microlight on the topsides.
I worked my way around her topsides, firmly pressing the Microlight into the tiny voids.
The Microlight materials sands very easily, as it is meant for non-structural applications.
With the glass work and painting completed for the day, I could not resist to begin messing about with the teak and what would become the new brightwork. I had spent some downtime a few weeks ago assigning the various original pieces of brightwork to their new teak boards, and so I culled the port coaming board and its counterpart from storage. I spent several minutes deciding just how to lay the old board onto the new, so as to act as a template. The new teak board, while stunningly beautiful, did have a couple areas that I wanted to avoid - a couple knots that may open up over time. So I decided on the best pairing and orientation of template to new stock, and then securely clamped the original coaming board to the new teak board. I then traced the original board onto the new, providing ample boundary to fine-tune the final shape.
I then inserted a new blade into the Bosch jigsaw and removed the material was needed. The port coaming is emerging from some gorgeous wood!
Total Time Today: 4 hrs.