This blog will document the restoration of Cape Dory Typhoon (Weekender) Hull #1044. The Cape Dory Typhoon is a great sailing small-scale 'yacht', and offers a very friendly experience for her captain and crew. The scope of this restoration project will be painting the interior, deck and topsides, as well as fabricating new teak brightwork.

Tuesday, February 6, 2018

Sanding Topsides, Deck/Cockpit & Application of Second Coat to Deck/Cockpit


February 6, 2018


I took a vacation day to then take advantage of the great painting conditions - something other than windy and rainy.  I immediately began in the morning, around 0800 with sanding the cockpit, deck and cabin top with 400-grit paper.  This was to be the second coat applied to those aforementioned areas on Joule, and she was already taking the Interlux Perfection well.  Over the next few hours, I hand-sanded my way across the areas to be repainted.

After I completed the sanding, I thoroughly vacuumed the surfaces and then wiped them down with a solvent dampened rag.  I then mixed a pot of the Perfection Mediterranean White; while I awaited the 20-minute induction period, I collected the tools required for the paint application. 


I began in the cockpit, and carefully worked the areas holding a tight radius before moving onto the larger field areas of the seat tops, coamings, aft cockpit bulkhead, etc.  I then moved to the cabin bulkhead, cabin top and sides - progressing forward to the bow.


With the cabin surfaces completed, I moved on to the starboard side decks and worked towards the bow...


...and then back down the port side, finishing off on the poop deck.


With the painting of the second coat on the deck/cockpit completed, I took a break to run an errand for the through-hull fittings (cockpit drains) - which would provide time for the paint to dry to a point where I could continue with the topsides.  I ran out to secure couplers and hose barbs for both the starboard and port cockpit drains.  At some point, the owners will replace the older through-hulls with proper seacocks, but for now the task was to remove the brass ball-valves, update the hose, and apply the proper hose clamps.

I made a successful trip, securing the items I required.  When I returned, I immediately got started with sanding the topsides to prep for paint to come.


I worked my way from the starboard aft counter, and progressed forward to the starboard bow.


I then worked from the port bow back to the short portion of port counter, and finished at the stern.


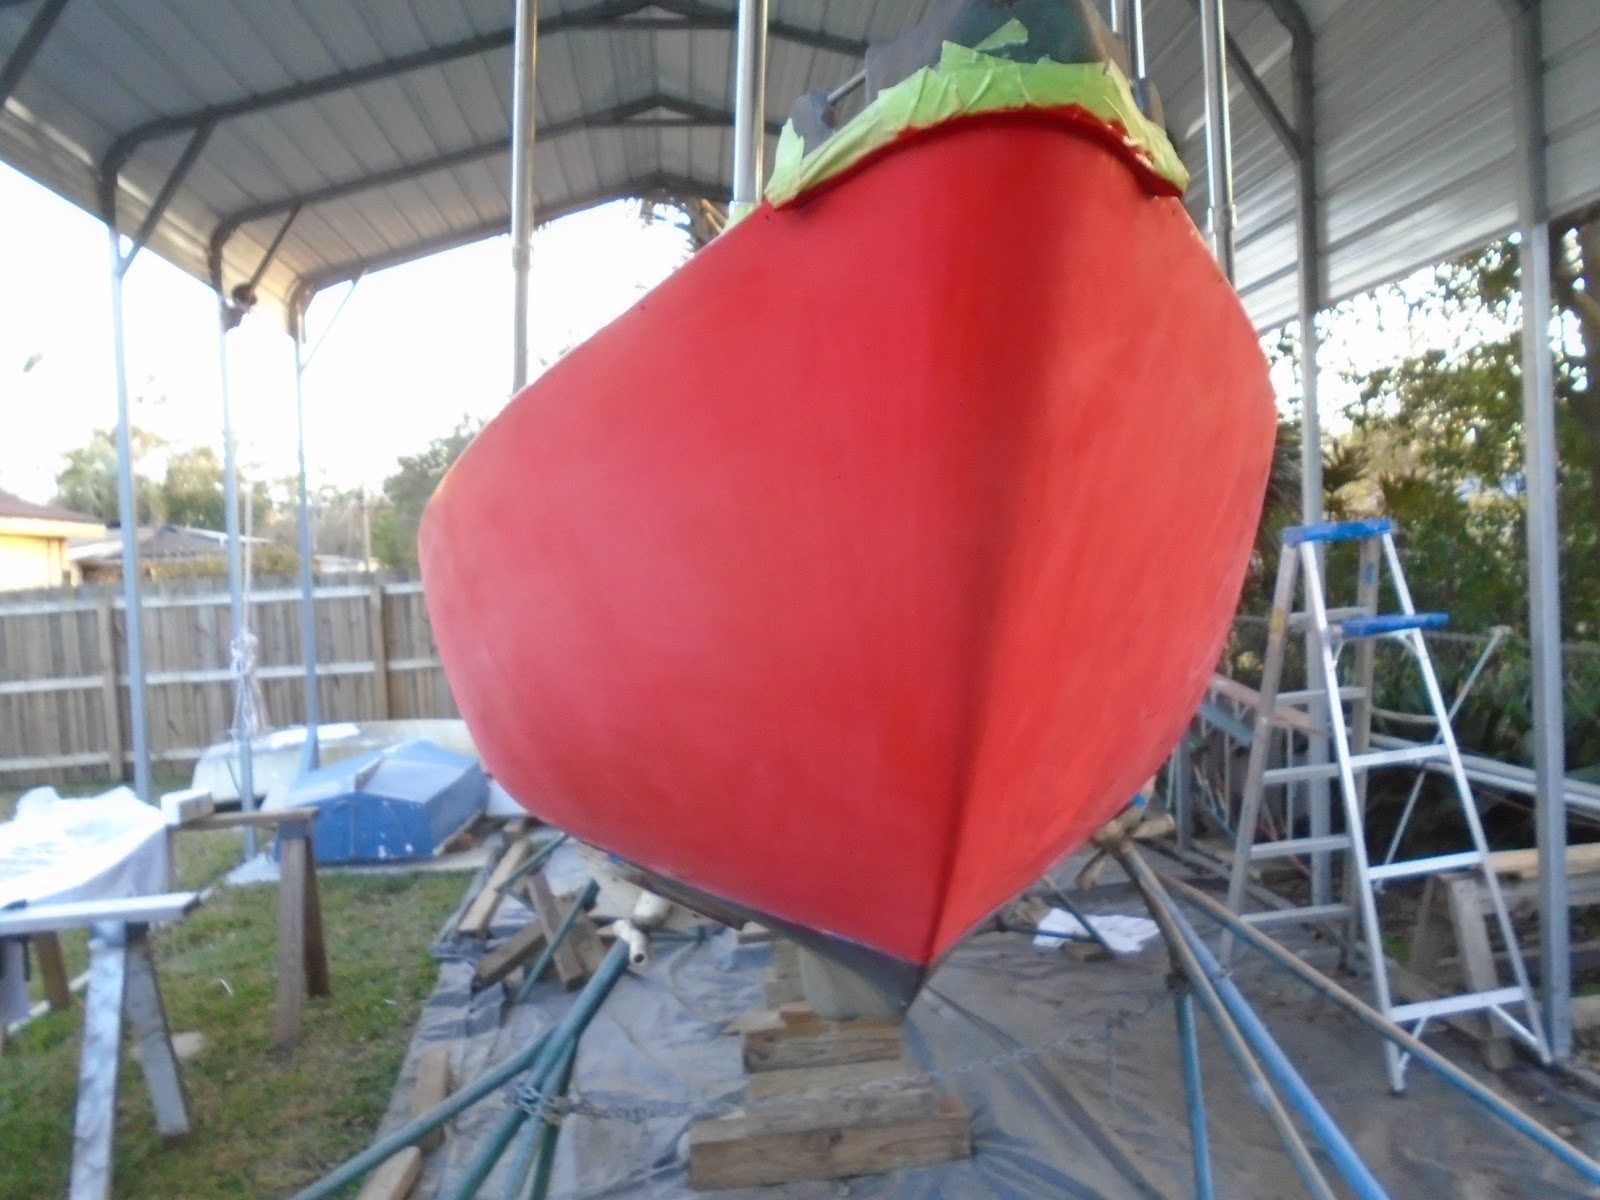
With a good vacuuming of the topsides, Joule was ready for a solvent wipe down and her fourth coat of paint.


Total Time Today:  6.25 hrs

Saturday, February 3, 2018

Final Prep on Brightwork and Applying Teak Oil (and misc. painting)


February 2, 2018


Ahead of a partly sunny (no rain) Saturday, I needed to get the brightwork ready for the application of teak oil.  Joule's owners elected to have her new teak oiled rather than varnished, which I thought a good decision given the beauty of the new teak and the ease of ongoing maintenance.  The teak oil that was selected the Starbrite Tropical Teak Oil, and requires UV rays to 'catalyze' the oil....thus the no-rain requirement.

So Friday evening I got busy with the final prep work: on-deck drain/limber holes on the aft end, or tails, of the coaming boards, and working through the remaining pieces with 80, 150, and 220 grit paper.


The on-deck drainage holes was simple enough to create, and I worked the edges with sandpaper to ease the transition lines.


After I had finished addressing the tail ends of the coaming boards, I moved over to sanding and wrapped that up.

Total Time Today: 2 hrs


February 3, 2018


I awoke early, 0700 (for a Saturday!), and went straight to work arranging the brightwork on the work surface - four saw horses set-up to receive the brightwork.  I wiped the surfaces of the brightwork with solvent to remove any remaining sanding dusts - always amazed at how much residue material comes off just prior to painting, varnishing, oiling, etc.  With the surfaces clean, I went ahead with the first coat of teak oil.


The Starbrite Tropical Teak Oil comes out of the can looking like some misplaced and forgotten pot of curry, simmering away for days on some backroom, wood-fired clay oven in Denpasar...but it applies beautifully and brings a luster to the natural tones of the wood.  I applied the oil with a foam brush.


Just prior to a morning appointment, I managed to apply the first coat of oil.


I was pleased with the results and looked forward to getting back to apply the second coat.


With the sun now transiting westward, I was forced to move the sawhorses to catch what was left of the day's direct sunlight.  After moving the material, I applied the second coat of teak oil and then began to prep a temporary covering due to threatening inclement weather.


I placed clamps on each ends of all four saw horses, and simply dropped a sheet of 2mil plastic across the newly oiled teak.  I then came back with spring clamps and further secured the sheeting from the frequent gusts of wind coming through.  I placed a few strategically located slits in the sheeting to capture and drain any rain and dew that we might receive over the next day or two.


With the brightwork finished, I moved back into the shop to apply a coat of cabin paint to the underside of the companionway slide hatch.  With paint left in the tray, I made my way over to Joule and emptied the contents of the tray onto areas that required it.


Total Time Today: 3 hrs

Wednesday, January 31, 2018

Taping-off Deck & 1st Coat Finish Paint on Deck and Cockpit

January 31, 2018


My first item to address was the foredeck vent opening on Joule.  In the previous session I cut the opening out, removed a portion of core material around the circumference, and then filled with thickened epoxy.  Now, after a quick water-wash to remove the amine blush, I began sanding with the vac running down below.   I progressed from 40-grit, to 80-grit, and then finished with 120-grit paper to get the opening to the diameter I required.


With a quick clean up of the deck and v-berth below, I moved to test-fit the vent's trim ring from below.  I kept sanding until I achieved a good fit.


I finally arrived at a snugness of fit that I was pleased with for the trim ring.  I did not push the trim ring all of the way into the opening as I snapped the photo - the shadow around the ring is the result of not pushing all the way into position.


The photo below shows the vent in the final installation position. 


With the vent opening dimensions established through sanding, and the trim ring fastener holes oriented below in such a way as to not interfere with the base-plate fasteners, I set out to mark and over-drill for those base-plate fasteners.  I wanted to ensure no water would make its way into the core material, so after marking for the base-plate fasteners, I over-drilled with a forstner bit


The orientation of the base-plate fasteners was decided based upon how the trim ring fasteners were positioned - so they would not interfere with one another.  I drilled the deck with a 3/8" forstner bit, vacuumed the sanding debris, and solvent-cleaned the inside of the drilled cavities.


Next, I painted out the drilled holes with neat epoxy to wet the core so as to not "starve" the thickened epoxy to follow.  I mixed a small amount of epoxy thickened with West System's 403 micro-fibers, and filled the holes for the vent's base-plate fasteners.  With the vent installation taken as far as I could for the day, I turned my attention to the deck and cockpit - sanding.  My intent was to sand, tape-off the boundary of the non-skid and smooth finish paint, and then apply a coat of the Interlux Perfection Mediterranean White.


I worked over the cockpit well and deck with 320-grit paper with a focus on the areas where the Interlux Perfection would be painted.  I did not snap any photos of the sanding - sanding is sanding!

With the sanding complete, I thoroughly vacuumed the surface and then wiped it down with a solvent to prepare for taping and painting.  I first went around the deck and cockpit sole, taping the boundary of the paint lines, and over-taped in areas that would show a smooth radius curve.  With the tape in place, I move to trimming the radius corners (oxymoron?), using a compass and a razor blade.


I established the radius, and then cut along the pencil line laid out by the compass.


I also taped-off the cockpit well drains in the process.


I taped-off the aft end of the deck's non-skid pattern, with the reverse radius at the base of the cabin sides.


After addressing the cockpit well drains, I moved aft to the rudder post, and completed the radius work there.


On the foredeck, I completed the taping work required there...and was set to mix a batch of paint.


I mixed a pot of Perfection, set it aside for the 20-minute induction period, and moved back to Joule for a final wipe-down.  With the induction period expired, I thinned the paint roughly 15% with the 2333N thinner, and set about painting the first coat of deck/cockpit finish paint.


I worked my way around Joule with a focus on getting a good base coat applied.


In the coming days, I will be painting second and final third coat, so any imperfections from the first coat did not weigh on my application effort.


I finished on Joule's aft end, and cleaned up for the day.


Total Time Today:  5.75 hrs