This blog will document the restoration of Cape Dory Typhoon (Weekender) Hull #1044. The Cape Dory Typhoon is a great sailing small-scale 'yacht', and offers a very friendly experience for her captain and crew. The scope of this restoration project will be painting the interior, deck and topsides, as well as fabricating new teak brightwork.

Sunday, August 6, 2017

Topsides Sanding (Part 2) & Deck Core Work

August 6, 2017


Because I wanted to complete the topsides sanding today, I began with removing the plastic thru-hull fitting for the bilge pump, located roughly amidships.  


The 1/2" interior diameter thru-hull extended through the topsides and interior fiberglass liner, and was then secured with a plastic backing nut.  


I applied a wrench to the backing nut, and with some light pressure it began to release from the thru-hull fitting.


After the backing but was removed, I applied a hammer to the thru-hull fitting itself in order to free it from the 'marine goo' it was bedded in.


A few taps, and then a wrench from the exterior of the boat, and the thru-hull was out.  The owners of Joule have requested a new bronze thru-hull fitting for the bilge.  


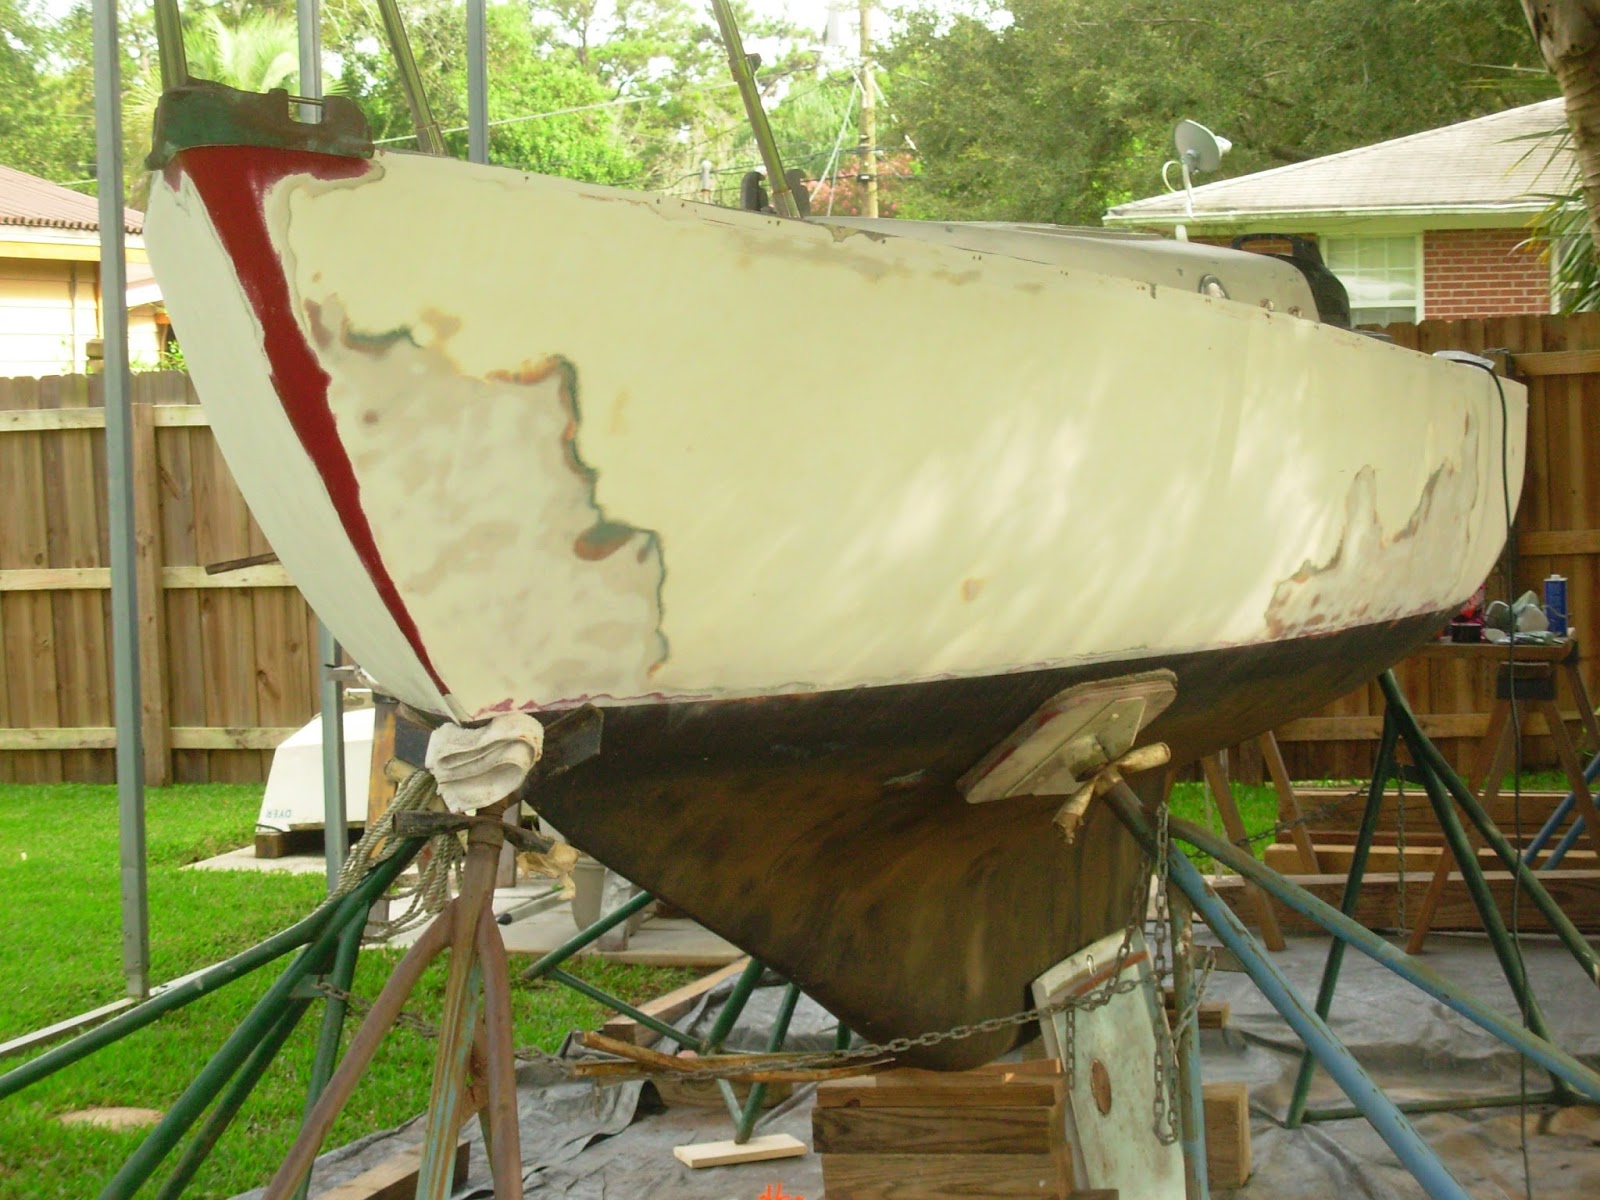
With no obstructions on the topsides from bow to stern, I set up the porter cable 7335 with dust shroud and connected it to the shop vac.  AS I had done yesterday, I used 40-grit PSA pads to remove the layers of paint and primer, taking things down to the original gelcoat.


I worked my way aft, leaving just a inch worth of material at the waterline.  I would come back later and hand-sand the waterline. 


Additionally, I will be using a combination of hand-sanding and the palm sander for the bow.

With the topsides nearly completed, I turned back to the poop deck to rid it of the problem areas (i.e. wet core).  In my original evaluation of the boat, I sounded the poop deck and found no discernible  problem areas - typically highlighted by a deep, hollow thud as one taps on the deck.  It may have been the sheer number of hardware items installed on the deck; nevertheless, there is wet core in the poop deck.  I started with the motor mount base plate.  The CD Typhoons originally came with a folding motor mount, and this one had signs of a re-installation - I found fastener holes that had been filled with a thickened epoxy.  I drew cut lines on the deck, and removed the top skin with a Bosch oscillating tool.  I removed enough material to rid the deck of wet core in this area.


I began to sound the deck to identify the areas of issue, and decided to extend the previous day's cut forward to include those areas that held the main sheet cam cleat and stand up block.


With this area clear of deteriorated core, I found more issues with the original aft cleat location.  I marked cut lines and removed the top skin.


As expected, I found wet core with the initial cut.  I then extended my cut toward the starboard rail to get all of the bad areas removed.


I ended up with clean, dry core.


Most of the core in the aft deck was at one point sopping wet, but then had deteriorated and then dried out.  I did find a lot of water in the core around the aft cleat.  Next steps here will be to grind tapered edges to tie-in the new glass, install new core material, apply a new fiberglass top skin, and fill and fair.


Total Time Today: 5 hrs

Saturday, August 5, 2017

Topsides Sanding (Part 1) & Deck Core

August 5, 2017

The day started out as innocuous as any other Saturday...I was off to the office to collect an item I had been meaning to bring home for quite a while, and on the way to the office, I treated myself to a Dunkin Donuts sausage and egg bagel - auspicious beginning to the weekend indeed.  Alas!, coming out of the office, I noticed a foreign object protruding from my driver-side rear tire.  I attempted to drive to the dealership, but was suddenly flooded with images of total tire failure at 80mph.  I slapped the spare on, and then made my way to the dealership.  With mid-day bearing down on me, I made my way back to home to begin boat work...  

The goal for the day was to remove the red topsides, at least the starboard side.  I fastened the dust shroud to the Porter Cable 7335, connected the vacuum hoses, donned the 40-grit PSA pads and was off to the races.


The dust shroud and vacuum combo does a remarkable job of eliminating unwanted airborne paint particulate.  I would periodically clean the shop-vac filter, as this keeps maximum 'suck'-level achieved.


I worked the topsides down to the originally gelcoat, burning through red topsides, primer, a former green topsides and primer.  The clean slate, white canvas, was nice to see.


As I approached amidships in the sanding process, I decided to go ahead and adjust the boat's positioning on the stands.  When Joule was brought in by hydraulic trailer, she was set with her sheer line set in a horizontal position.  This position set the waterline in a downward trajectory; she was also positioned on but a few pieces of blocking material.  By using just a few pieces of blocking, my rather large stands had to be severely angled downward so that the pads engaged the hull, and also resulted in the pads resting rather high on the topsides.


I set out to raise Joule so that I could 1. level the waterline, and 2. get the sailboat stands' pads below the waterline so as to not interfere with eventual painting of the topsides.  I used a jack to alternatively raise the bow and stern, putting both in a higher position (using more blocking) so that the pads of the stands rest at a point below the waterline.  After an hour messing with the positioning of the boat so that it met my satisfaction, I returned to the work. 


Getting as close as I could to the bow line with the Porter Cable 7335 - I would entertain more detailed work with the palm sander and hand-work.


Removing the starboard topsides revealed a repair made to Joule's amidships at some point in her past.  The interior also reveals some glass work.  This area of her topsides will require some fairing work prior to primer paint.


With the starboard topsides removed, I moved on to the stern...


...and the stern topsides removed.


Joule came clean with her past today, and revealed her darker side - the Cape Dory Typhoon formerly known as 'High Ri$k'.  Yes, that's a dollar sign for the 's'.  Joule, you naughty girl!


With significant progress made on the topsides, I moved onto the poop deck to address some core issues.  Knowing that recore work was on the list, I wanted to get a peak into the problem areas, measure the depth of the balsa and then get some replacement material on order.  I began with where the stern light was mounted.  I traced out cut lines and then removed the top skin.


As imagined, the core was at some point saturated, proceeded to deteriorate, and then dried out.  the core was anything but a solid construct, and was removed with hardly a fuss.


Seeing that additional core material required removal, I expanded my cut line.


The additional removal of core material eventually revealed sound core.


Next, I moved over to port where a cleat was added.  As can be seen below, the top skin is concave, and soundings revealed the dreaded 'thud' of a wet core.


I marked cut lines, and proceed to remove the top skin.


After the initial removal, I choose to remove an addition section of top skin and core.  I ended the day satisfied with extracting the wet core in these two areas on the poop deck.


Total Time Today: 6.5 hrs

Saturday, July 29, 2017

Deck & Cockpit Sanding (Part 2)

July 29, 2017


I set out today to complete the deck and cockpit sanding - one of those milestone days.  It's important to have days like this on a project of this scope.  Achieving milestones motivates, offering further momentum to reach completion.  Momentum, as described to me by a good friend from the north, can carry you through the challenges - sanding off layers of paint qualifies here!  Anyway, I am anxious to get the worst of it behind me and move on to putting the pretty stuff on Joule

I started by removing the rudder tube plate.  I was expecting to find much worse lurking below this ancient piece of teak, but it really wasn't too bad.  The cockpit floor is solid.  Since work must be done to the rudder tube (generically referring to the bronze bar, and not the fiberglass tube surrounding it) and because I needed to prep for painting the cockpit sole, I went ahead and removed it.  There should be material left over to fabricate a new plate.


With PSA discs on order for the Porter Cable 7335, I broke out the 5" RO to continue with the deck.  This tool is not the ideal for large spaces, but it did allow me to get into tighter spots that the 7335 would not.  You can just make out the layers of nonskid paint on the deck.  Hull #1044 was living large in the '70s...and the '80s and '90s too for that matter!  The original baby-blue was in there, as well as some harsh looking greens.  I attached the shop vac to the sander and enjoyed the breezy conditions without having a dust cloud about me.


I began on the sidedecks using 60-grit discs, about midships, and moved forward toward the bow.  


Prior to getting too far forward, I moved onto the cabin top and cabin top sides.  For now, I left the deadlights in place, choosing to keep myself in the maddening pace of marathon sanding.  Joule's owners are planning to replace the deadlights with bronze deadlights (similar to this, see page 42).


While up on the cabin top, I inspected the mast step for eventual removal.  There is considerable corrosion of the aluminum at the point of contact with the stainless steel through bolts.  I'm suggesting to the owners that they consider replacement of the CD2 tabernacle mast step


With the cabin top finished, I moved back down to the side decks.  I removed the lifeline stanchions in order to clean up the decks around them.  Since these stanchions will not be going back onto the Joule, I will later fill and fair the old fastener holes, with paint to follow.  The starboard stanchions pictured below.


I then continued working forward, completing the foredeck.


With the cabin top, side decks and foredeck completed, I moved back into the cockpit to remove the old nonskid from the cockpit sole.


With the completion of the cockpit sole, I wrapped it up for the day.  I pushed through lunch, ran through 27 discs, and left my body weight out there in sweat.  And the 'dog days of summer' are yet to come!


Total Time Today: 8.5 hrs